
Create an online course using Office Mix in PowerPoint
Update: Office Mix was retired on May 1, 2018.
May 9th, Microsoft announced Office Mix, a new innovative cloud-based service that enables users to create interactive, online training sessions using PowerPoint 2013. Office Mix, which is currently available as a free customer preview, enables users to record and share their courses directly from within PowerPoint. This is a fantastic service for teachers across the world who want to teach students online – but it’s not just limited to teachers. Anyone who wants to use this service to create an online course can do so. In this week’s blog, I wanted to give you an overview of how it works.
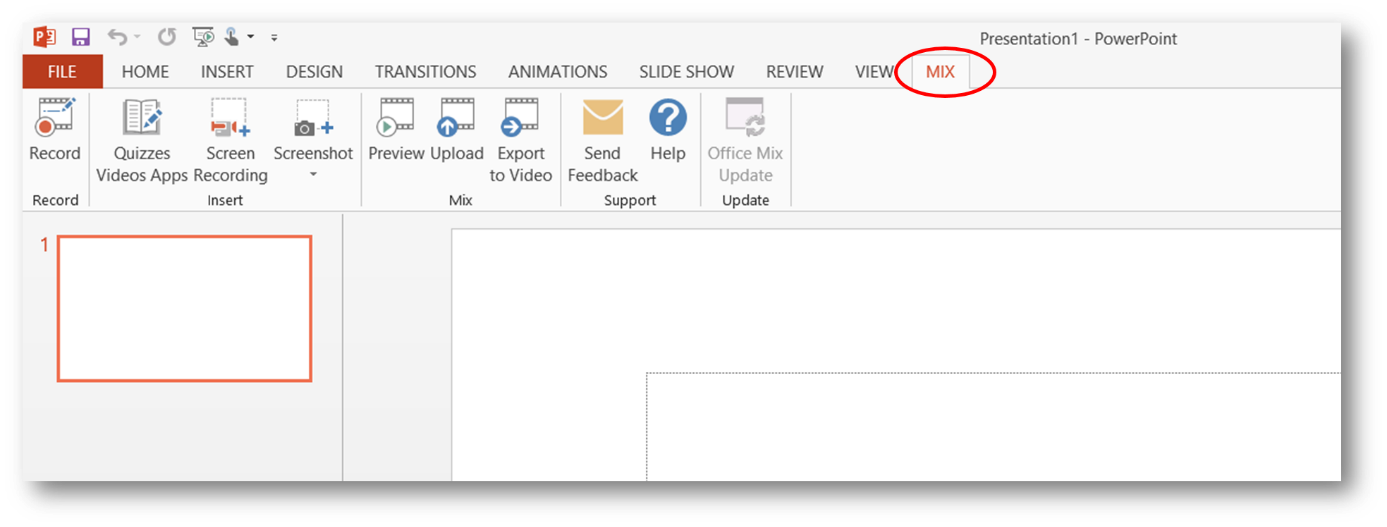
1. Get started with Office Mix
In order to use Office Mix, you need to have PowerPoint 2013. To get started to download the add-in via the Office Mix home page. When you have installed the add-in a new tab named MIX will appear in PowerPoint 2013.
2. Create your course
Before you start recording your course it’s important that you create an outline. Decide on the structure of your course, where you want to add ink annotations, demonstrations using screen capturing and quizzes. Create your slides like you normally would using your desired theme, content and animations. Stick with standard fonts and refrain from using extravagant transitions since these are not supported.
3. Make a Screen Recording
Do you want to show your audience something on your screen? Perhaps you want to show a website or demonstrate an application on your computer? If so, you can insert a screen recording. Open up the application you want to show and then click on “Screen Recording”. Select the part of the screen and record what you want to show your audience. The screen capture will be inserted as a video into the slide.
4. Record your presentation and add ink annotations
When you have finalized the content of your slides it is time to record your course. You won’t be able to see your presentation notes when you record your course, so unless you know your presentation by heart, write down some supporting notes for your presentation. You can select between only recording your voice (audio) or both audio and video.
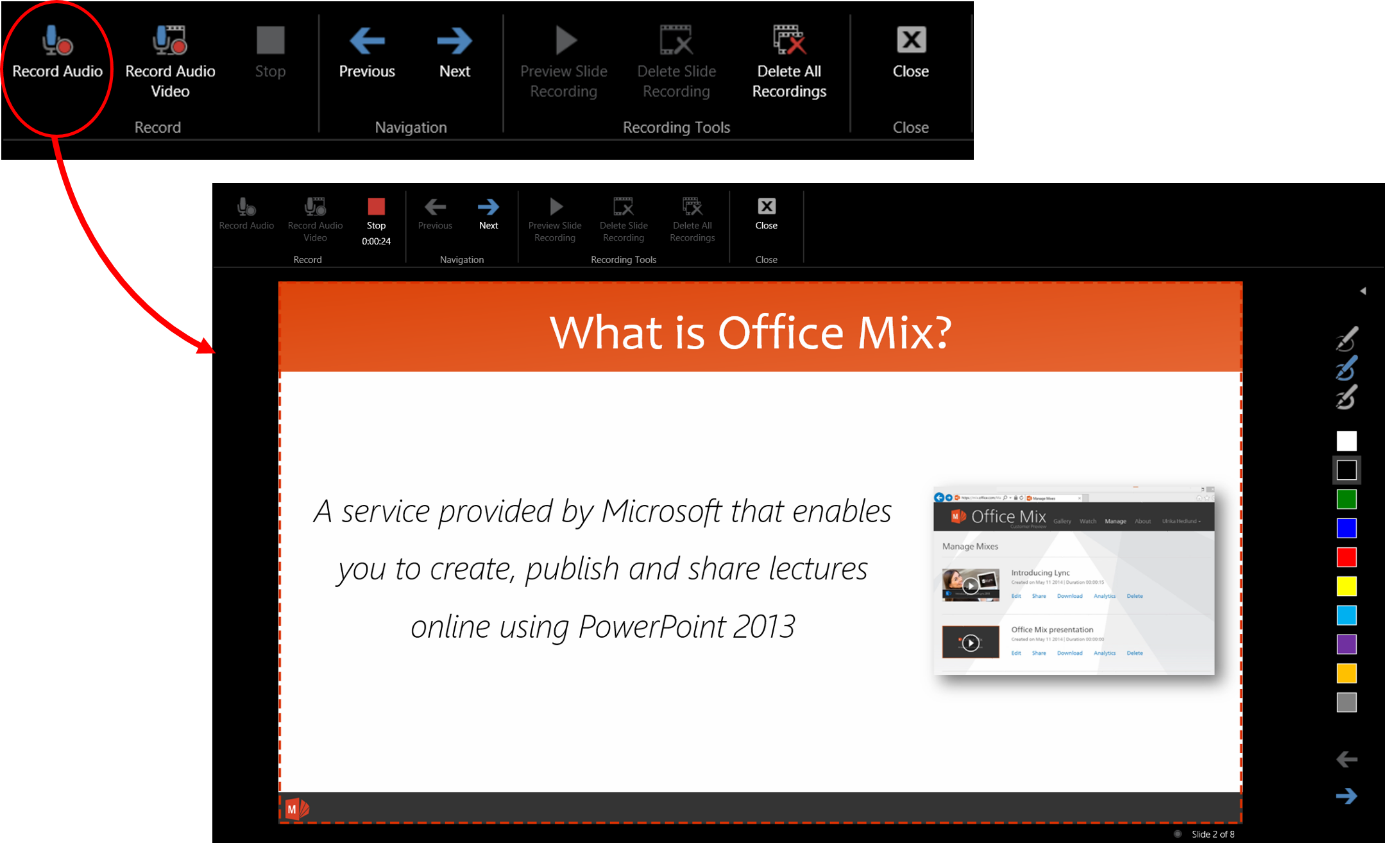
The video will be taken using your computers webcam. Make sure you have proper lighting in the room and that you look presentable. For best results, look into the camera when you present – don’t look at your slides. If you don’t feel comfortable being captured on video it’s better to just record your voice.
While you are recording your course you can add annotations to your slides. This works best if you have a surface or other type of computer with a digital stylus. It is very powerful to illustrate something by hand while you are delivering your course.
A slide can’t contain both screen recording and video/audio, so it’s best to move your slides containing screen recordings to the end and then rearrange your slides when you have finalized your recording.
5. Insert quizzes
A great way to keep your audience engaged is to add quizzes. You can select from a number of different quizzes, multiple choice, true or false or free text answers. For best result place your quiz slides evenly throughout the presentation.

6. Preview your course
It takes quite a while to upload your course, so it’s best to preview what the final result will look like before you initiate the upload. You can only have one type of media on each slide. So if you have a slide with both a screen capture and video/audio recording, you will be asked to remove selected media when previewing the slides.
7. Upload your course
 When you are happy with your course it is time to upload it. You can select the option to create a video of your course, that way it can be downloaded for offline view and also accessed via mobile devices (note that quizzes are not supported if you select this option). In order to publish your course to the Office Mix service, you need to create an account. You can sign in using a Microsoft Account, Microsoft Organizational Account (Office 365 account), a Facebook account or Google account.
8. Share and analyze
When your course is uploaded it is time to share it with your audience. You can make it private (only visible to you), share it with people who log in and have the link you provide them with or make it public (available to anyone).

Once you’ve uploaded your course you can analyze how your audience is engaging with your content. You can see how many have viewed the course, how long they have viewed each slide, responses to the quizzes and so on. You can use this insight to create even better courses in the future.
Great solution – hoping for an enterprise version
Being able to use PowerPoint for online courses is extremely powerful. I can see numerous usage scenarios within enterprises for employee training. When I tried the service the published course took too long to load, viewers wouldn’t have the patience to sit through the course. This might be because the service hasn’t been launched yet. Even so, for enterprise solutions, you need to be able to guarantee certain bandwidth levels to ensure quality in delivery. You would also need more choices for how to share the course within the organization. I’m hoping that we will soon see the Office Mix offering for enterprises via Office 365 with more advanced functionality added.
(If you have difficulties reading this article, you can access the full article in pdf here).