
How to effectively create a presentation as a group?
Imagine that you and three of your colleagues need to create a joint presentation for an important customer meeting tomorrow morning. You all need to contribute with different parts. How do you do this effectively to meet the deadline? A common scenario is for each and every one to create their own slides, email them to the poor person who ends up staying up all night to get the slides in order and to make the colors and fonts look ok when all the different PowerPoint themes are merged into one. Well, there is a better way to do it. In this week’s GetSharp article I’ll walk you through how to effectively create a presentation as a group.
1. Agree on the overall presentation structure and deadlines
Before you start creating any slides in PowerPoint you need to agree on the overall structure of the presentation. Meet in person or have an online meeting. Agree on the objectives of the presentation. Make sure everyone knows the logistics such as how much time you have allocated and what facilities you have at your disposal. Decide on the overall outline, who does the introduction, who delivers that various sections of the presentation and who does the summary. Also, agree on the corporate PowerPoint theme to be used if you have multiple to choose from. Make sure to take notes of what is agreed so that there is no confusion on who does what.

Assign a person to be responsible for the presentation. This person will create the PowerPoint outline that will be shared with everyone, this person will also be responsible for making sure that all parts are included and that the final presentation looks good. Agree on the deadlines for completion and decide on a time for a final review of the presentation before you deliver your presentation.
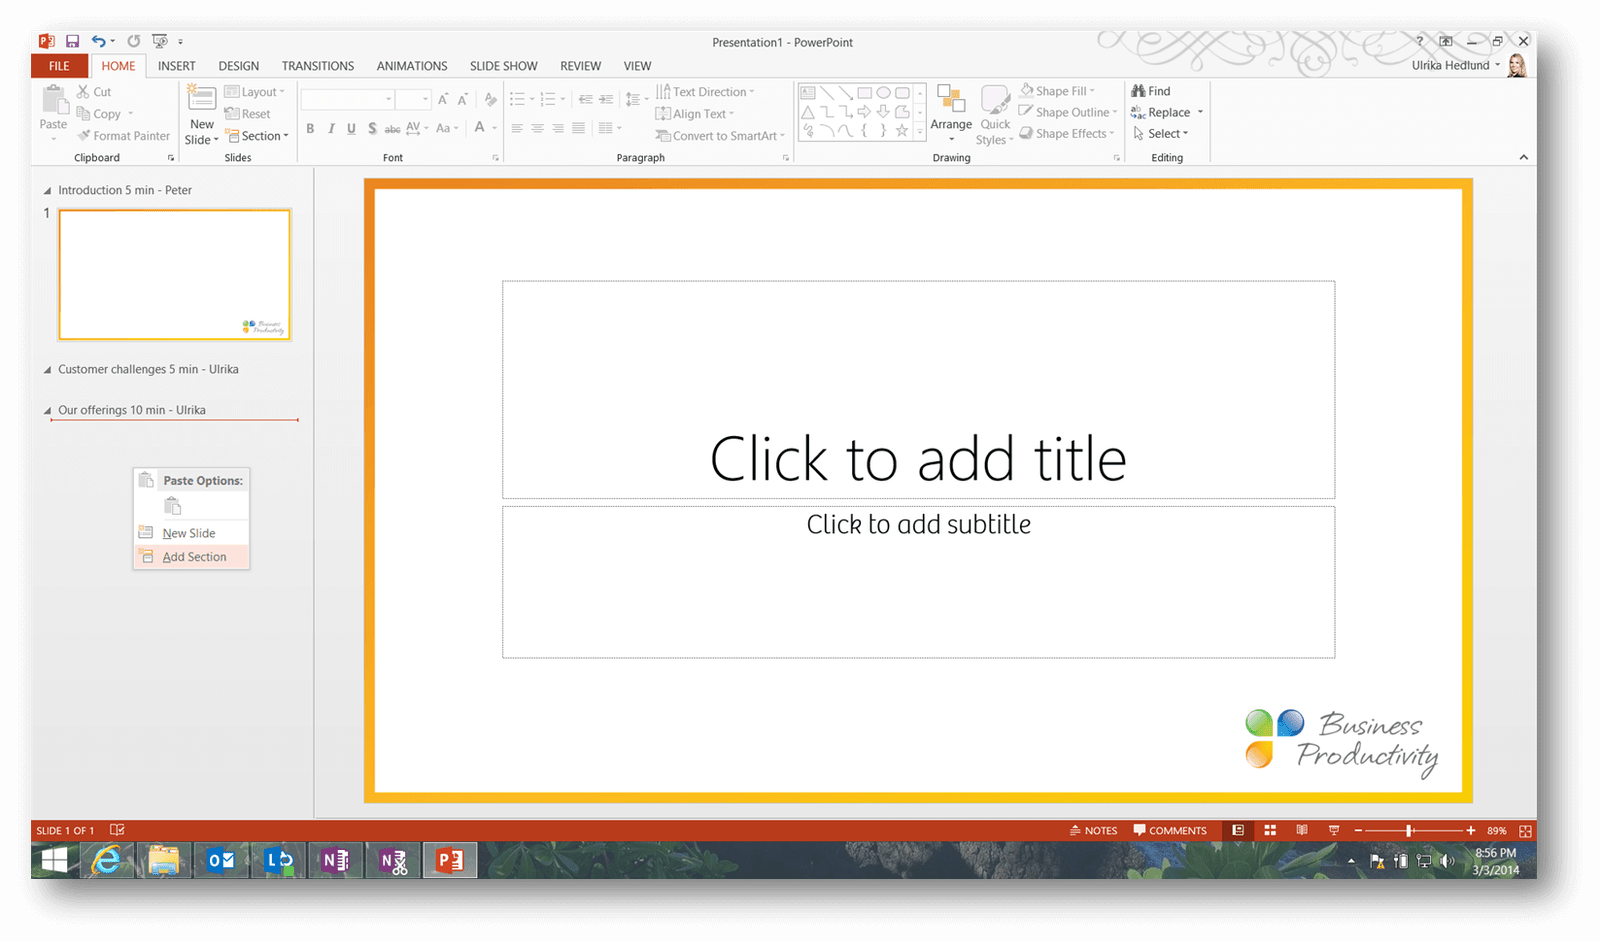
2. Create the outline of the presentation
The person who has been assigned the “presentation ownership” should create the presentation outline in PowerPoint 2013 using the agreed upon theme. It’s best to apply the theme right away so that each person who adds slides can see what their slides look like with the theme fonts and color schemes. Create sections in the presentation so that it’s easy for everyone to see where they should add their slides. Add descriptive names to the sections so that they are as informative as possible.
3. Share the presentation online so that everyone can edit it
Save the presentation to an online location that everyone can be given access to, OneDrive, OneDrive for Business or a SharePoint team site (if anyone in the group is from an organization other than your own you need to refer to your corporate guidelines for sharing documents outside your organization. SharePoint team sites can be set up to allow external access, but otherwise, you can use OneDrive which can be accessed by anyone over the Internet). When you have saved the presentation share it with the group.

4. Add your individual parts to the presentation
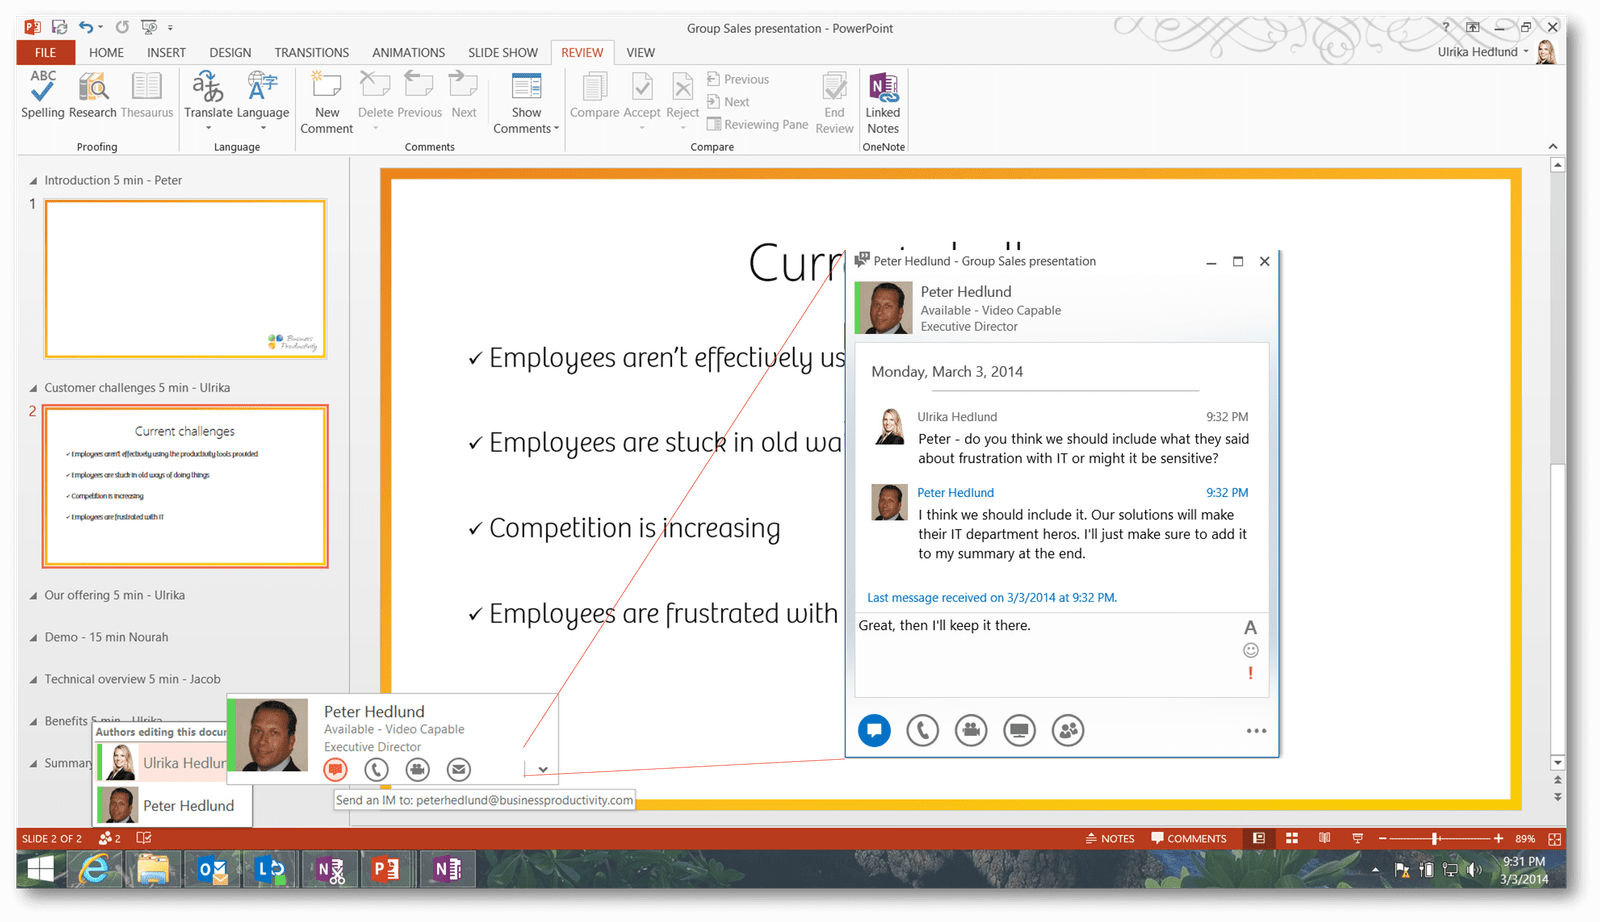
Everyone in the team will receive an email invitation to the presentation and can start working on it right away. In PowerPoint 2013 you can all work on the presentation simultaneously. At any point in time, you can see who is currently editing the document.
5. Select the right method for communicating with the group
In PowerPoint 2013 comments are much easier to add and view. Adding comments is a great way to give feedback on things in the presentation itself.

However, if you want to write a comment to a specific person related to a slide, there is no guarantee that the person will see the comment since they don’t get notified. In those instances, it is best to notify the person about the comments added using instant messaging (if he or she is online) or by calling (sending an email is not a good option since you can’t be sure he or she reads it before your deadline).
6. Add placeholders if large video files need to be inserted
If the presentation contains large video files it’s best to wait until the presentation is finalized before you add them. Since all the content of the presentations is uploaded to the server and then downloaded to everyone who is working on a local copy, a lot of time would be wasted and network bandwidth consumed. Add placeholders on the slides where the videos are to be inserted so that everyone knows that they will be there in the final presentation.

7. Review and finalize the presentation
Before you deliver the presentation review it to make sure all the parts have been added. Go through all the comments in the presentation. Insert the videos where placeholders have been added. If you are going to share the presentation with the customer, create a copy of the presentation where you remove all comments, slide notes, etc. To remove all slide notes and comments and other document properties at once, click File – Check for Issues – Inspect Document. Go through the wizard and remove all unwanted data.

It’s not difficult – but you need to break old working habits!
Collaborating on a presentation like this isn’t difficult – but you need to change the existing, habitual behaviors of people. The best way to change behavior is by effectively communicating the benefits of the new and different way of working. Make sure that everyone feels confident with the tools at hand – if you need help, we have just the training videos you need!
(If you have difficulties reading this article, you can access the full article in pdf here).