
Write a winning proposal
Introduction (00:04)
Quite often you need to produce documents that should appeal to others. You might be sending a sales proposal to a customer or share a business plan with potential investors. In this video I’ll show you how to write a winning proposal with an attractive cover page and live videos.
Creating a cover page (00:24)
Here I have a proposal that I’m working on for a customer. I want to add a more attractive cover page to make the proposal stand out a bit more. There are a number of built in cover pages that you can try in Word 2013. To insert a cover page, click “INSERT” and then “Cover Page”.

You can try out a number of different styles to get inspiration for your cover page. In this case I’ll create a cover page from scratch so I’ll just click “Undo”.
First I’ll insert our logo by clicking “INSERT”, “Pictures” and then selecting our logo. I’ll click the “LAYOUT OPTIONS” button and select to wrap it with text and place it in front of text. This way I can position it exactly where I want it.

Next I’ll insert a shape to the right. I’ll click “INSERT”, “Shapes” and then select a rectangle. I’ll draw the rectangle along the right side of my document. I won’t draw it all the way to the edge because if I do my document will just scroll down, so I’ll use the size measurement to extend the rectangle all the way to the bottom of the page.

I’ll change the design and select a color that goes better with our logo. I’m not thrilled about the color of the shape, so I’ll open up the formatting panel by right-clicking the shape and selecting “Format Shape”. I’ll open up the “FILL” section and look at the Fill settings, here I’ll remove one of the “Gradient stops”.

I want the remaining gradient stops to pick up colors from our logotype, but it can be quite difficult to pick these exact colors by just looking at the color chart. If you want to format your shape with the exact colors as your logo, you can use the Eyedropper tool in PowerPoint. Copy your logo and shape to PowerPoint. Select color for your gradient stop, and in the color drop down select the “Eyedropper”.

Now place the Eyedropper above the color you want to choose. You will see the exact RGB color combination for the color.
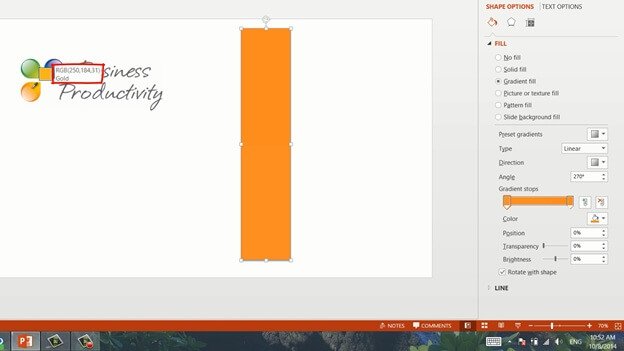
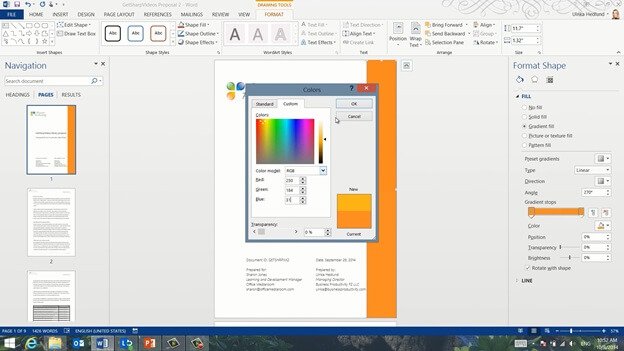
Note down the exact color combination you want for your shape and then enter them manually into the color settings for your two gradient stops in Word.
This way you get the exact colors you are looking for. Finally I’ll open up the “LINE” section and select “No line”. There, now the cover page looks much more attractive.
Inserting online videos (02:49)
On the first page of the proposal I’d like to add a richer introduction to our company by inserting a corporate video that we have on YouTube. To insert an online video into your document in Word 2013, go to the “INSERT” tab and click “Online Video”. Here you can search various video services.

I’ll search for our video on YouTube. Select the video and click “Insert”. A thumbnail of the video is inserted into the document. I’ll change the layout options to wrap the image with text and position the video thumbnail where I want it in the paragraph. If the reader is online while reading the document he or she can play the video by just clicking the thumbnail image. By inserting a video into the document itself you don’t risk losing the reader’s attention by opening up another web site.
Keeping headings with the paragraph text (03:50)
Now that I’ve inserted the video into my document I can see that the heading of the next paragraph is separated from the text itself. To keep all headings in your document with the paragraph, right-click the heading style and select “Modify”. Click “Format” and then “Paragraph”.
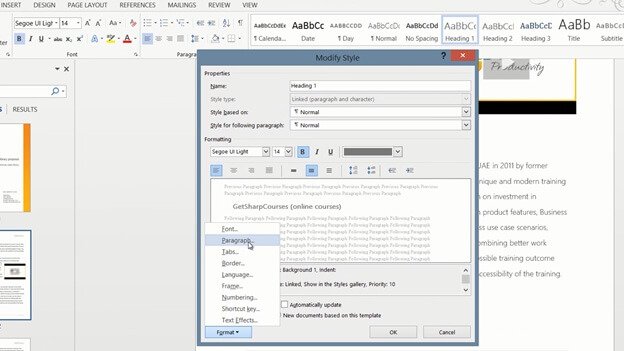
Go to the second tab called “Line and Page Breaks” and mark the option “Keep with next”. Click “OK” and then “OK” to apply the changes. As you can see, the headings are now kept together with the paragraph text.
Keeping tables on one page (04:23)
Further down in my document I have a table that’s been split between two pages. Since this is a quite short table I want to make sure that the entire table stays on the same page. To keep all rows of a table on the same page, mark the table and open up the Paragraph settings by clicking the little arrow in the “Paragraph” section on the “HOME” tab.
Open up the second tab called “Line and Page Breaks”. In Word, each row of a table is considered a separate paragraph, so by marking the option “Keep with next” you will keep the rows together on one page. Click “OK” and the table is moved to the next page.
Inserting tables (05:04)
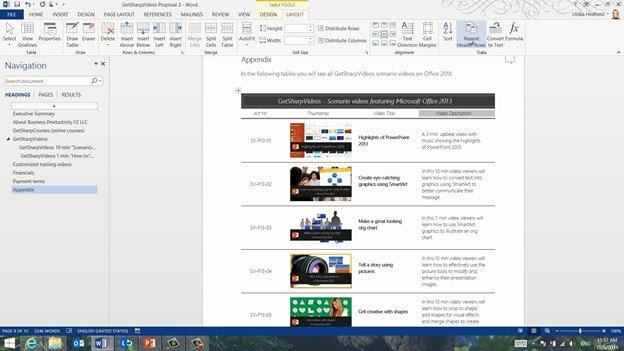
I want to insert one more table in the Appendix. I’ll click “HEADINGS” in the “Navigation” pane and click on the “Appendix” heading to go there. I want to insert a table that looks like this, with a title at the top and then four columns with information.

To insert a table in Word, click “INSERT” and then “Table”. Here I’ll select four columns and two rows. The first row should contain the title so I’ll mark all cells, right-click and select “Merge Cells.”

Next I’ll write the table heading and then change the formatting. I’ll click “Shading” and change the color to grey, and then I’ll use the mini-toolbar to format the text. After that, I’ll add the column headings.
Working with tables in Word 2013 is much easier than before. I can easily add a row anywhere by just hovering to the left of the row and clicking the plus sign.

In the same way I can easily add more columns by placing my marker to the right of a column and pressing the plus sign. I’ll populate the entire table with my information.
Changing table borders (06:14)
Now I want to change the table borders. I’ll mark the entire table and click “Borders” and select “No Border”.

I’ll click “Borders” again and select “Inside Horizontal Border”. I want to add borders at the bottom of the table as well, so I’ll click “Borders” again and select, “Bottom Border”. Now I want to have a double border at the top, so I’ll click the “Border Styles” and select a double line. My mouse cursor turns into a little paint brush. Now I’ll paint the border I want to change. Perfect. I’ll click the “Border Painter” again to turn it off.
Repeating table headers on multiple pages (06:54)
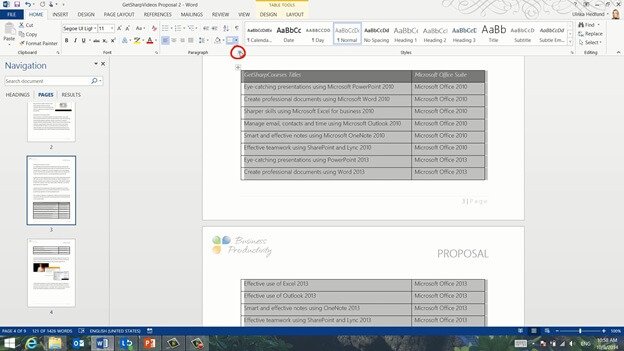
Since this table is quite long it splits between multiple pages. To repeat the table and column headers on each new page, mark the rows you want to repeat, here I’ll mark the first and second row. Go to the “TABLE TOOLS” and select the “LAYOUT” tab. Click “Repeat Header Rows”.
Now the two rows are repeated on each new page making the table much easier to read.
Inserting a page in landscape layout (07:22)
In the Financial section I want to add a table I have in Excel. I’ll select the entire table in Excel, right-click and select “Copy”, I’ll paste it in my Word document by right-clicking and selecting paste as image. In order to see the numbers properly I want this page to have a landscape layout.
To insert a single page in landscape mode, position your cursor where you want the landscape page to begin. I’ll place my marker at the start of the financial section. Click the “PAGE LAYOUT” tab, “Breaks” and then select a “Next Page” section break.

Insert one more page break where you want the page to end, I’ll place my marker after the image.
If you want to see the page breaks you just inserted click the “VIEW” tab, and then select “Outline” view, in this view the “Section Breaks” are visible.

I’ll close down this view and go back to the “Print Layout” view. To change the orientation of this page to Landscape, on the “PAGE LAYOUT” tab under “Orientation” click “Landscape”. As you can see this page has now been changed to landscape mode, while the others are still in portrait. Now I can resize the image making it easier to read.
Inspect your document for hidden data (08:38)
After some final fine-tuning of my document I’m ready to share it with my customer. Before you share a document with your customer it’s highly recommended that you remove any unwanted data. If you click the “FILE” tab you can see that there are a number of properties associated with this document that you might not want your customer to see.

You might also have some revision data, like comments or markups. To inspect a document go to the “FILE” tab and click “Check for Issues” and then “Inspect Document”.
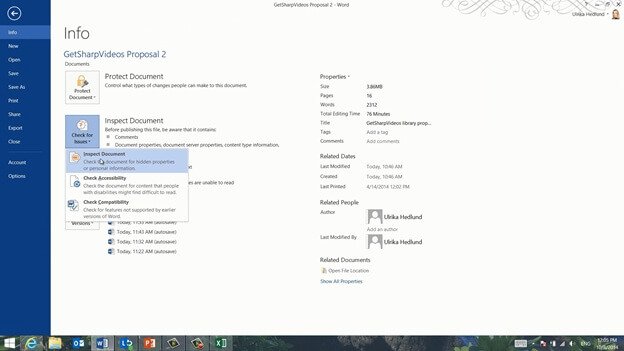
It will ask you to save the document once more. Click “Inspect” to start the inspection of all the hidden data of the document. Here I can see that my document contains a lot of data that I can remove such as annotation data, document properties, Task Pane Apps, and XML data. I’ll keep the headers and footers and the click “Close”.
As a final step I’ll go to the “FILE” tab, Click “Protect Document” and then “Mark as Final”.

By marking your document as final, it will automatically open up in Read-only mode.