Make a great-looking org chart
Introduction (00:03)
Businesses go through re-organizations quite often, so you’ll probably include org charts in a number of your presentations. Instead of using just text to communicate organizational structures, it really helps to use graphics. If your organization isn’t too big, you can use SmartArt to create great looking org charts in PowerPoint 2013. Let me show you!
Introducing Org Charts using SmartArt (00:29)
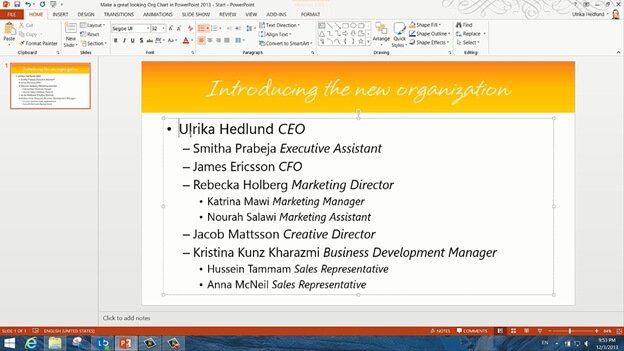
Here I have a slide with the names and job titles of the people in our organization. Instead of including this slide with text I’m going to use SmartArt to make the slide look like this instead.
As you can see, this is much easier to digest and right away I get a good overview of the organizational structure.
Let’s go back to our original slide. Here I have Smitha my assistant, James our CFO, Rebecka our Marketing Director, Jacob our Creative Director and Kristina our Business Development Manager. I’ve also included Rebecka’s and Kristina’s teams.
To convert this text into an org chart I’ll mark the text, right-click and select “Convert to SmartArt.
I’ll select “More SmartArt Graphics” and here I’ll select the Hierarchy group. I’ll select the Picture Organization Chart and click “OK”. I strongly recommend that you include profile pictures in your org chart.
Re-arranging shapes (01:39)
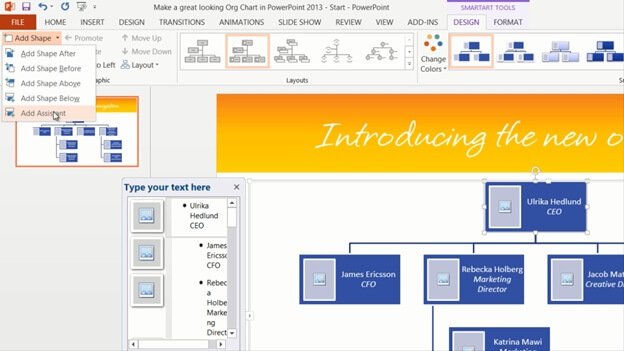
Before I add profile pictures I want to rearrange the org chart a little bit. First I want to move Smitha, my Assistant, so that she is right below me. To do this I’ll mark the information about Smitha and cut it by pressing the keyboard shortcut CTRL+X, then I’ll mark my shape. On the “SmartArt Tools” Design tab I’ll go to the “Create Graphic” section and click “Add shape”.
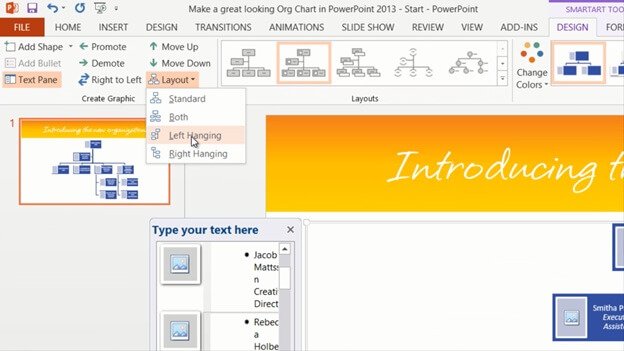
Here I’ll select an assistant shape. I’ll insert the shape and then paste in the information about Smitha again by clicking CTRL+V, and there she is now in the appropriate position. I also want to move Jacob so that he is next to James. To do that I’ll mark the box with Jacob and in the SmartArt Tools Design tab I’ll click “Move Up”. To change the balance I’ll also change the direction of the Marketing team branch, I’ll mark the Manager for the branch, click “Layout” and select “Left Hanging”.
Adding profile pictures (02:50)
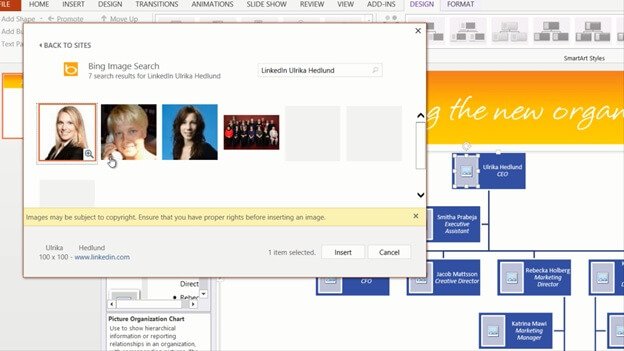
Now I want to add profile pictures. To add a profile picture I’ll just click the image. Many business professionals today have their profile pictures available on the Internet on the online network LinkedIn. In the Bing source I’ll write “LinkedIn Ulrika Hedlund”. At first I won’t get any results because PowerPoint is only returning pictures that are in the public domain.
I’ll click “Show all web results” to see everything since I’m not worried about copyrights in this particular scenario. Now the pictures shows up, so I’ll just mark it and click “Insert”. I’ll do the same for all people in our organization.
Add a design (03:35)
To finish it off I just want to add a nice design, so I’ll go to the “SmartArt Tools Design” tab and go to the gallery and chose a nice finishing.
And there we go a great looking org chart that I can share with my team!


