How to insert a screenshot in an email in Outlook 2010
Please note that this is a shortened, fast-speed video with the objective to give you a glimpse of ways in which you can improve your business productivity. The full video: ” Enrich your email communication ” shows you how to perform the steps in a slower, more user-friendly fashion.
You can also access the full course, “Manage email, time and contacts using Microsoft Outlook 2010” on Udemy.
How to insert a screen clip to an email using Microsoft Outlook 2010
To insert a screenshot in my email I’ll click “Insert” and then select “Screenshot”. Here I can insert screenshots of all the available windows I have open.
But in this case I don’t want to insert the entire window I just want to choose a screen clip. So I’ll choose “Screen Clipping” and then I’ll just drag a square around the image I want to include. This is much quicker than attaching the PowerPoint presentation.
Share screen images by using the Snipping Tool
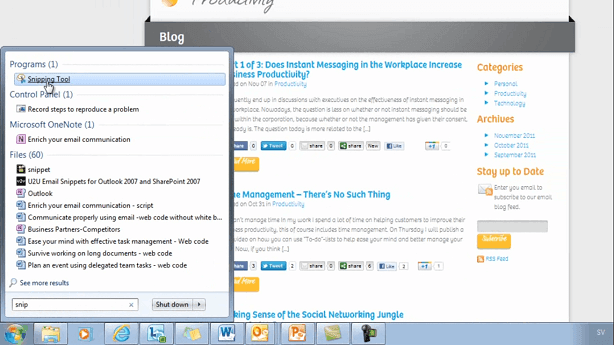
Another great tool that I use frequently, whenever I want to share a good website, is the “Snipping Tool”. The Snipping Tool is included in Windows version Vista and later, just type “Snipping tool” and it will appear.
Mark the part of the page that you want to share, then you can mark a specific area of the page and then click “Email”. Your clip is then included in the body of the email as well as the link from where you took the clip.


