How to insert a logo in your letterhead in Word 2010?
Please note that this is a shortened, fast-speed video with the objective to give you a glimpse of ways in which you can improve your business productivity. The full video: “Create a professional letterhead template” shows you how to perform the steps in a slower, more user-friendly fashion. You can also access the full course, “Professional documents using Microsoft Word 2010” on Udemy.
Learn how to insert a logotype in your letterhead using Microsoft Word 2010
To insert our logotype to the letterhead I‘ll start by inserting a header. To insert a header click the “Insert” tab and click on the Header icon. Here there are a number of built-in designs that I can choose from. But since I only want to insert a logotype I’ll just select “Edit Header”.
Now I can insert my logotype. I’ll go to the “Insert” section and just select “Picture”, and here I will select our logotype [from the Picture folder]. As you can see this image is way too big, so I’ll just resize it by grabbing the bottom right corner to make sure we keep the proportions of the logotype. Now I want to place the logotype up in the left-hand corner, so I’ll click “Wrap Text” and then select “Behind Text”.
This way I can position the logotype exactly where I want it and I don’t have to worry about text or margin settings. There, to close the header I can just double-click outside the header area or I can go to the “Design” tab and just click “Close Header”
Now if I look at this document in Word the logo looks a bit faded a bit washed out.
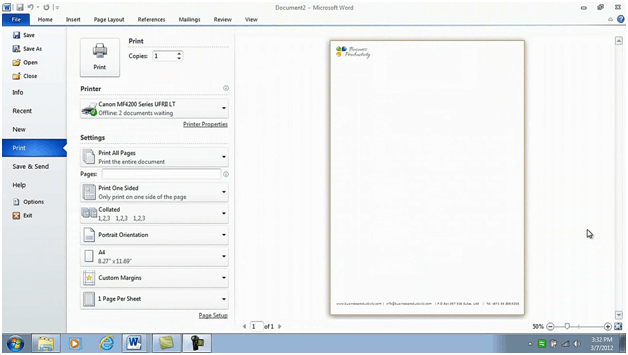
But this is just Word’s way of showing you that this is part of the header. When you print this document, let’s look at the print preview, you can see that the logotype will be printed using the full colors.
Check out our How-to Word website for free Word 2013 video tutorials here. You can also have a look at out our other How-to sites for free Office 2013 tutorials here (more How-to sites coming soon!).


