How to create an org chart in PowerPoint 2010?
Please note that this is a shortened, fast-speed video with the objective to give you a glimpse of ways in which you can improve your business productivity. The full video: ”Quick ways to communicate organizational structures” shows you how to perform the steps in a slower, more user-friendly fashion.
You can also access the full course, “Eye-catching presentations using Microsoft PowerPoint 2010” on Udemy.
How to create an org chart using Microsoft PowerPoint 2010?
To convert your text into an org chart just mark the text and click “Convert to SmartArt”.
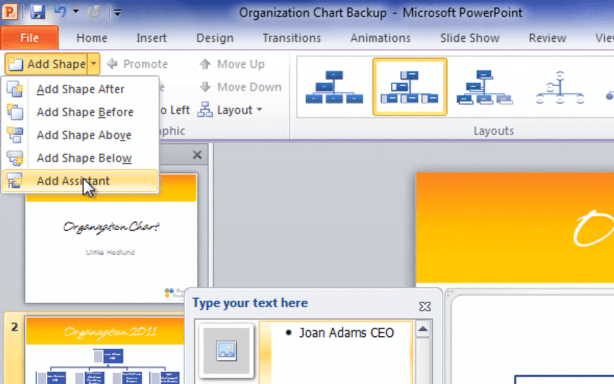
Select the “Hierarchy” group and the org chart with images and then click “Ok”. To change the position of a person just cut the text and position the pointer on the person he or she will report to. Click “Add Shape”.
Here I’ll add an assistant shape. Paste in the text again in the new shape. To add pictures to the positions just mark the image icon and select a picture. Do the same for all the people in the org chart. Finally, you can add a nice design. Click “Design” and select a nice 3D design from the art gallery.
Check out our How-to PowerPoint website for free PowerPoint 2013 video tutorials here. You can also have a look at out our other How-to sites for free Office 2013 tutorials here (more How-to sites coming soon!).


