Create eye-catching presentations using graphics
Learn how to use SmartArt in PowerPoint 2010
Introduction
Welcome to Business Productivity, I’m Ulrika Hedlund. In this video I will show you how you can create eye-catching presentations using graphics in PowerPoint. I don’t know about you, but I have suffered through numerous boring presentations with slide after slide of just text – some people refer to this as “Death by PowerPoint”. When you give a presentation it’s important that the PowerPoint slide is just there to support your message. Instead of using just text, it’s very powerful to use graphics to help illustrate what you’re saying.
In PowerPoint 2007 Microsoft introduced something called SmartArt, this was further developed in PowerPoint 2010. Today I hardly create a single presentation without using SmartArt. The beauty with it is that you don’t have to waste time drawing shapes yourself, this is automatically done for you. Let me show you how!
Introducing SmartArt graphics
Here I have a presentation about brand management. As you can see, I only have text in my slides. Let’s see how we can make this presentation more eye-catching by using SmartArt. You can find SmartArt under the “Insert” tab. The SmartArt graphics are grouped into different categories, and depending on the text you have on your slide you would use a different graphic to communicate your message.
Converting text into SmartArt graphics (01:24)
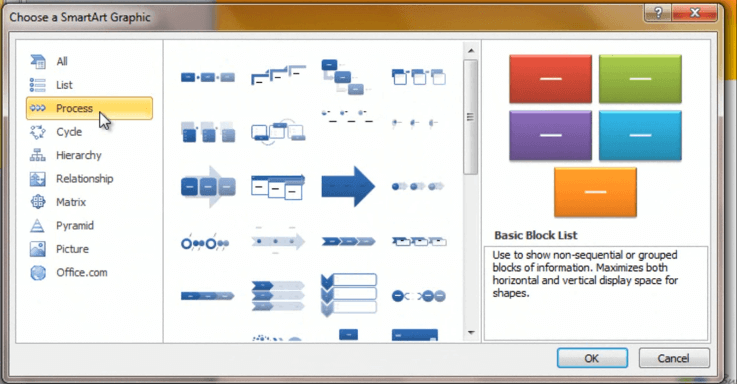
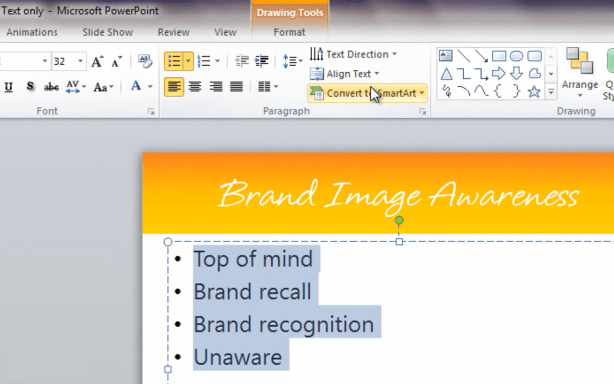
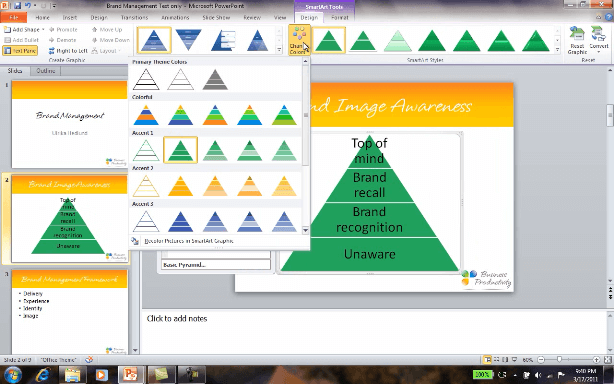
So let’s see how we can make this presentation a bit more interesting using SmartArt. The message of this first slide is that very few brands are top of mind, most of the brands there are totally unknown to us, so to illustrate this I will turn this into a pyramid. I mark the text, click “Convert to SmartArt” and it the graphic isn’t in the window I click “More SmartArt Graphics”.
Go to the Pyramid group and choose the appropriate icon and click “ok”.
And there you go! Now this is a much better way of communicating that message.
Change design of your graphics (02:05)
Under the “Design tab” I can change the color of the pyramid and under the “SmartArt styles” I have a gallery of different designs that I can choose for my graphic.
Working with individual shapes (02:22)
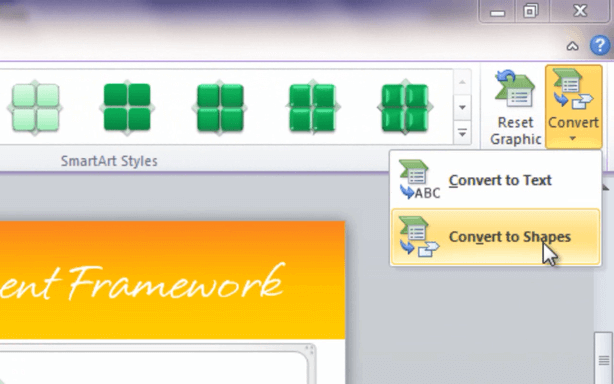
This next slide I want to turn into a matrix. Even though this is a good start, I’m not 100% happy with this image. What I can do is I can convert this into shapes and that way I can work with the shapes individually.
I can continue to work with the graphic until it is the exact way I want it. There, now it is done!
The cycle process graphic (03:05)
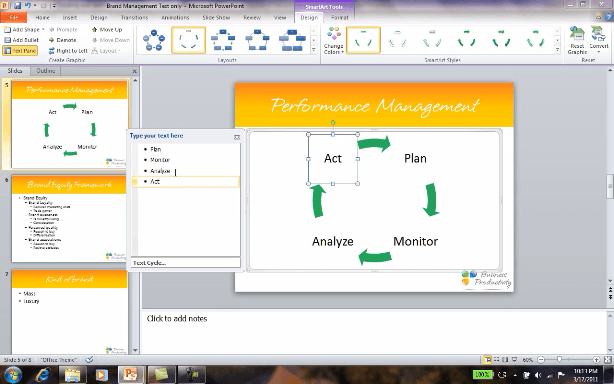
The text here, under “performance management”, can be converted into a cycle process. I can add more text by writing in the text box.
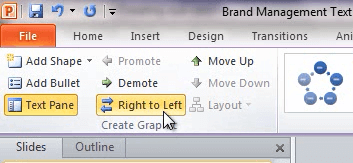
You can change the direction from “Right to Left” and you can move things around.
SmartArt graphics showing hierarchies (03:29)
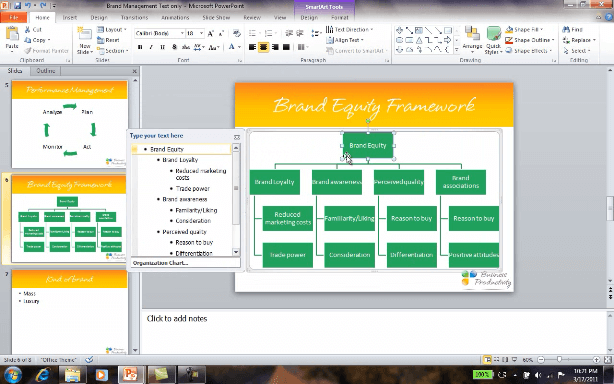
This next slide is just filled with a lot of text, and I’m going turn this into a hierarchy and this is one of my absolute favorites. Talk about saving time and being more productive! I mark the text, convert to SmartArt, and choose a hierarchy.
Now isn’t that great! Can you imagine how long it would take me to draw all of those boxes! If I add more text it will resize the graphic for me.
SmartArt graphics showing relationships (04:03)
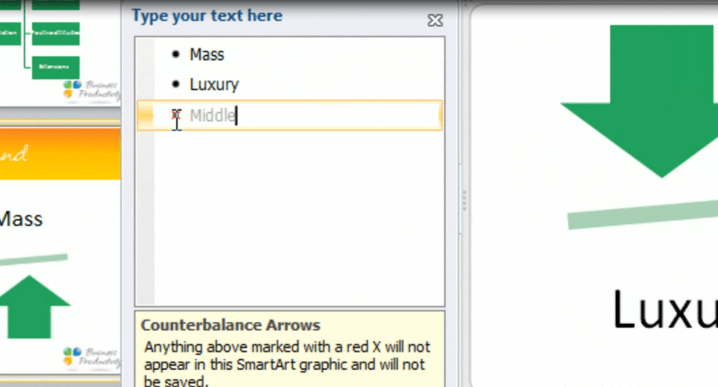
Finally, I want to show you the relationship group. I’ll convert this into a relationship, with to counterbalance arrows. Now this graphic can only take two lines of text, if I try to add a third one, you will see a red cross indicating that this will not be visible in the SmartArt graphic and it will not be saved.
Insert SmartArt graphics from scratch (04:28)
Up until now I’ve only showed you how to convert text into SmartArt. Before I end, I want to show you how you start from scratch. Simply add a new slide, and either click Insert, SmartArt, or you can simply click the Insert SmartArt graphic icon in the slide. In Office 2010 you have two new categories. One is the Picture category where you can insert images directly into the SmartArt graphic and the other one is Office.com. This one will get updated with new graphics so if you have an Internet connection you can look here for new SmartArt graphics.
Closing
My intention with this video was not only to show you how SmartArt graphics works, but also to give you an understanding of when to use specific SmartArt graphics. No matter what the topic is of your presentation, I’m sure that you can use graphics to make even it more eye-catching.
I’m Ulrika Hedlund for Business productivity. Thanks for watching!


