Create a professional resume
Learn how to write a professional resume in Word 2010
Introduction (00:03)
Welcome to Business Productivity. I’m Ulrika Hedlund. I believe most of us have pulled our hair and sighed in despair when forced to sit down and write our resume. How many pages should it be? What font should I use? And should I include my age or not? There are thousands of sites of great resources available on the Internet. The problem sometimes is that it’s just too much information.
I can’t tell you what template to use, or what content to have in your resume. But in this video I’ll share with you some of the advice that I follow. I’ll also show you some of the tools available in Word 2010 that will make writing your resume a lot easier. So let’s get started!
Starting from a template (00:45)
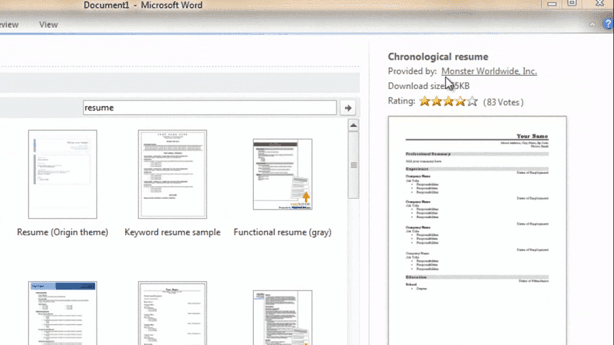
There are a number of different resume templates in Word 2010. To access them just go to the “File” menu, click “New” and then you can browse through the categories of resumes. Or, alternatively you can just write “Resume” in the search field.
The templates are provided by a number of different companies. For instance, this one is provided by Monster.
And then you have others down here that are provided by Microsoft. To select one of the resumes click “Download” or just double click the “Resume”.
By default your name is added to the template. Even though there are so many templates to choose from I think it’s difficult to find one that I like. So I’m going to show you how you can create your resume from scratch.
Starting from scratch (01:30)
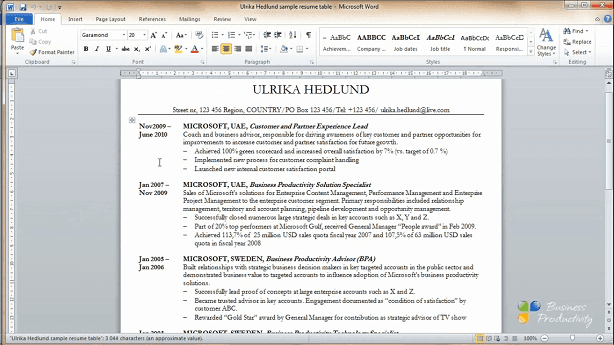
The resume that I am going to show you how to create looks like this:
Most recruiters I’ve spoken to want to have a chronological, achievements based resume. Here you can clearly see the dates and at the end the education, languages and other information. So let’s get started!
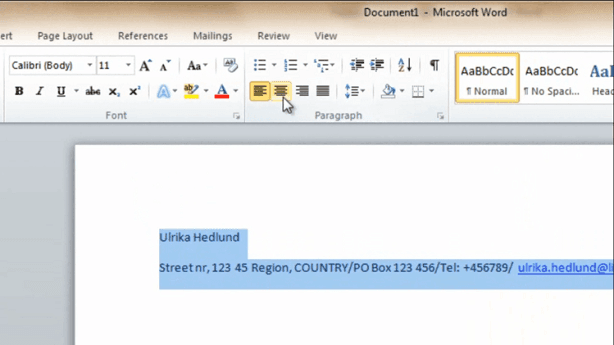
The first thing on any resume is your name; the first name and your last name. And after that you should have your contact details; your postal address, your telephone number and your email. I want this information to be centered so I’ll just mark the text and click “Center”.
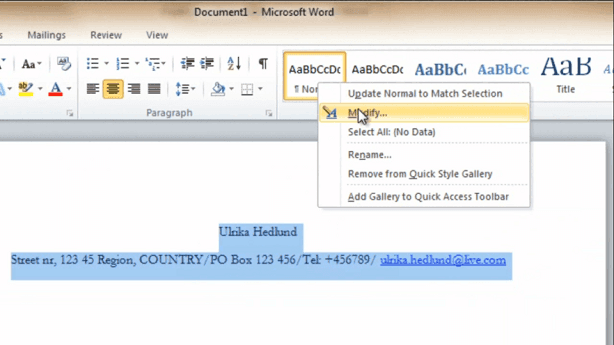
Now I want to change the font. With the live preview you will see automatically what your text would look like using the different fonts. I would recommend that you use something that’s classic and easy to read. So in this case I’m going to use “Garamond”. We’ll also update the “Normal” style, so that it uses “Garamond. Ok!
Now I want to change the formatting of my name so that it’s more visible. So I’ll change to all “UPPERCASE”, and also increase the font.
I’ll put a border underneath the contact details to separate the sections and then finally I want to narrow the margins. Most recruiters I’ve spoken to only read one, maximum two, pages of a resume. So you really need to make sure that you get the information in there. There is no need for a lot of white space!
Minimize the margins (03:00)
To do that, go to the “Page Layout” and then “Margins”. If I choose “Narrow” margins the margins will be 1,27 cm. But I want to make them as small as 1,0 cm so I’ll choose “Custom Margins”.
And I’ll just change these to 1,0 cm. And I’ll click “OK”. And then I’ll go up to “View” and I’ll choose to see the ruler because this way I can see exactly where the margins are.
Copying and pasting multiple sections (03:25)
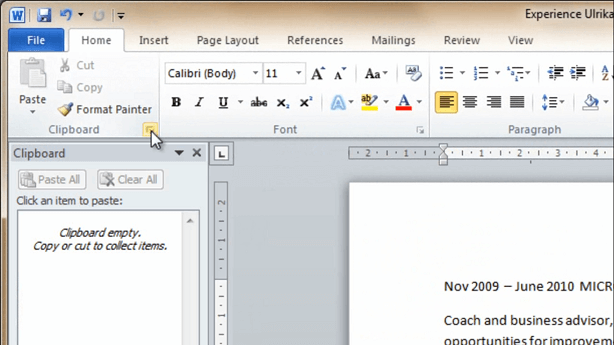
Now I’m going to open up a document that has my job history. To copy the text I’m going to open up the “Clipboard”.
And then I can either right-click, and choose “Copy” from the menu, or I can use the keyboard shortcut, which is CTRL+C, to copy the text. As you can see, as I copy the text the clipboard fills up. The clipboard can contain up to 24 clips. This is a great tool to use when you are copying multiple sections of text. There, I’ll just finish to copy my education, language skills and then other information.
Use a table to align your text (04:02)
And then I can either right-click, and choose “Copy” from the menu, or I can use the keyboard shortcut, which is CTRL+C, to copy the text. As you can see, as I copy the text the clipboard fills up. The clipboard can contain up to 24 clips.
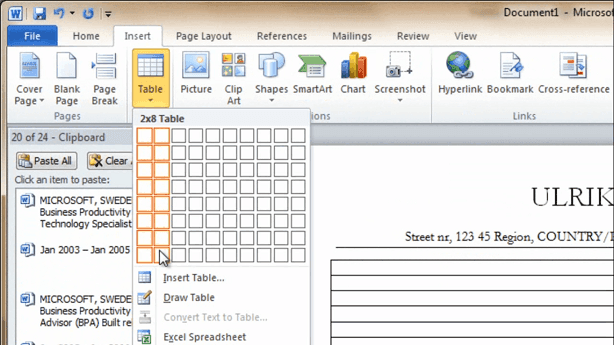
Now I’ll open up my resume again. But before I paste in the information from the clipboard I want to insert a table. Using a table I can keep the text nicely formatted. So I’ll just insert two columns.
And then I want the first column to be a bit more narrow. So I’ll grab this handle bar by left-clicking on my mouse and then just dragging it to the left.
And now I can start pasting this information. So I’ll just click and then press “tab” to get to the next cell. So I’ll just go line by line and copy in the text for each section. There!
Check your spelling (04:46)
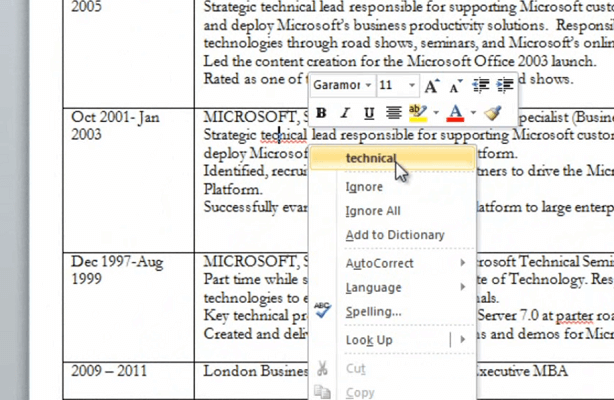
Now I’ll close down the clipboard and now I want to review the spelling. Having spelling mistakes in your resume is a big “no no”. Word automatically detects your spelling mistakes and marks them with a red squiggly line. You can right-click and then just select the right spelling.
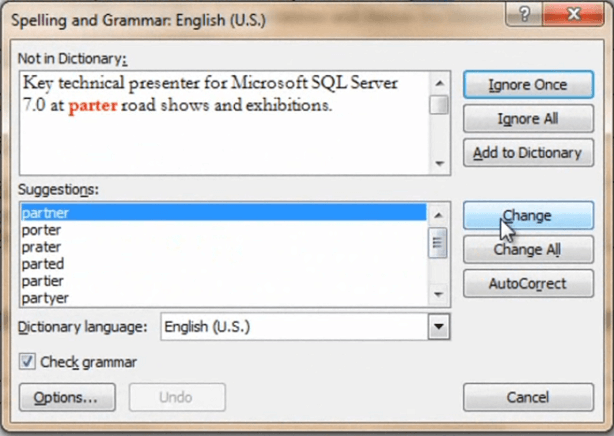
Or, you can go to the “Review” tab, select “Spelling & Grammar” and change to the suggested word in here.
In this case I don’t like any of the suggestions. So I’ll just write a colon in the text and choose “Change”. OK!
Change the formatting of your text (05:21)
Now I just have to work a little bit more on the formatting before we’re done. I want to select the text in the first column. To do that I just click in the cell, right-click, choose “Select”, “Column”.
And then right-click and make the text bold. Now I want to select the company name and the country in each paragraph. To copy multiple sections of text, select the text and then hold down the CRTL-key. When you scroll let go of the CRTL-key and then press it again when you’re ready to mark the text. Again, I’ll right-click and select “Bold”.
Now I want to select the job title and choose an italic bold. I’ll right click, [choose] “Bold and “Italic”. I’ll remove some of the empty lines just to make sure that we can fit everything in one page.
Save time by using the format painter (06:26)
Now I want to make the achievements into bulleted lists. I’ll mark them, go to the “Home” tab and click here on the bullets:
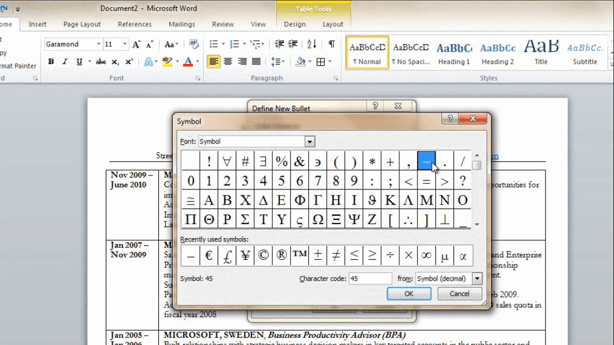
I can use one of the ones in the bullet library or I can define a new bullet. In this case I just want to use a simple line.
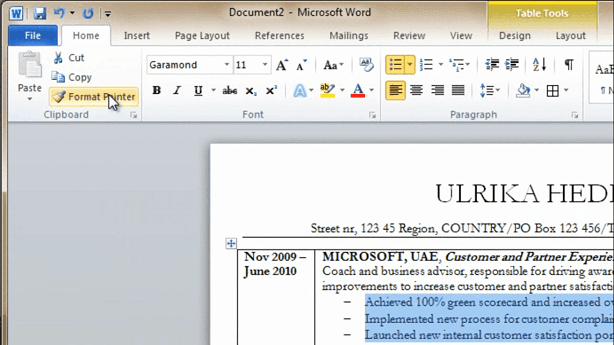
To paste the same formatting on the other achievements I’ll just go to the “Format Painter” and double-click.
And then I can mark the other achievements. You should have about three achievements for each job. And if it was a long time ago you might have fewer bullets. OK!
Make the borders of your table invisible (07:05)
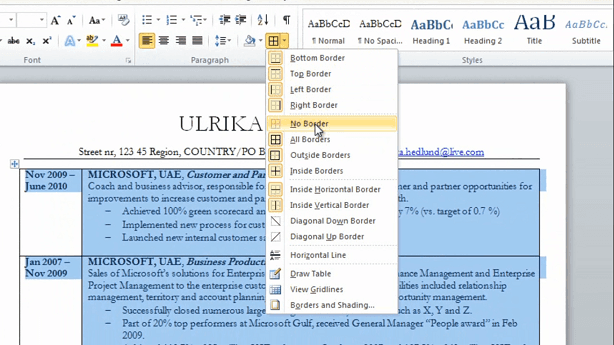
Now I want to remove the lines of the table so I’ll mark the table and then select “No Borders”.
I do want to have a line underneath my work experience before my education. So I’ll just mark these two cells and select to have a “Bottom Border”. And then I’ll do the same here for my education. It is done!
Save your resume as PDF and inspect your resume for hidden data (07:35)
What we have to do now is to save it. And I recommend that you save it in two different formats. First we want to save it as a word format. And then I’ll save it as a pdf-document. To do that you just select “pdf” in the drop down menu and click “Save”.
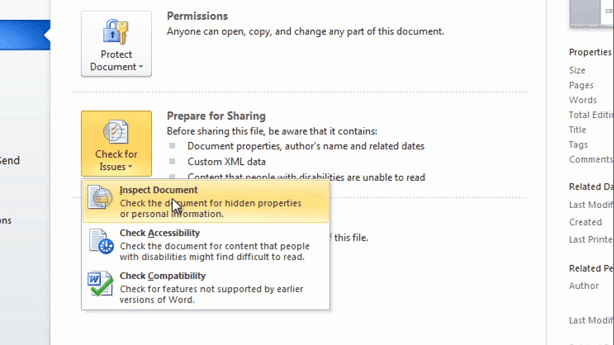
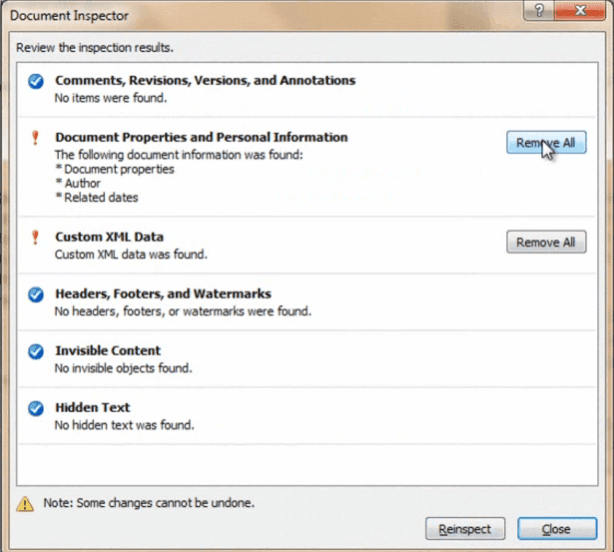
And it saves in pdf. Now if you want to send your resume as a word document I recommend that you inspect the document. Go to “File” and then “Check for Issues” and then click “Inspect Document”.
It will ask you to save the document once more. The document inspector will check to see if there’s any hidden data. So for instance if you copied someone else’s template their information might be there so you want to make sure to remove this from your resume. So we’ll click “Inspect” and choose to “Remove all” of the hidden data.
OK! Now we also want to mark this as final.
When the document is marked as final other people won’t be able to edit it. And that’s all there is to it!
Closing
I know that writing a resume is very time consuming but I hope that this video helped you so that you can focus your valuable time on the content of the resume – so that you can get the job that you’re looking for! I’m Ulrika Hedlund for Business Productivity! Thanks for watching!


