
Communicate properly using email in Outlook 2013
Introduction (00:04)
Business communication today is predominantly carried out through email. Sending an email is quick and easy, sometimes a bit too quick and too easy. In this video you’ll learn how to communicate properly using email in a business context, this includes adding a signature to your email, using polite introduction and closing phrases and writing precise and to the point and eliminating spelling errors altogether.
Adding a signature to your business email (00:34)
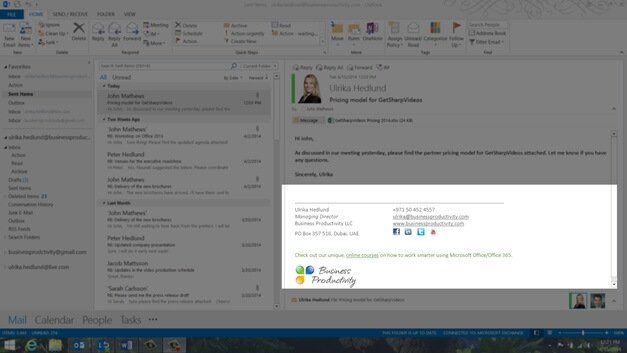
A proper email message sent in a business context should have a signature with your contact details. This way people know how to get hold of you by just looking at your email. Using the email signature is a great way to extend your marketing, but all organizations have different policies when it comes to email signatures, so just make sure that you know what the guidelines are in your organization.
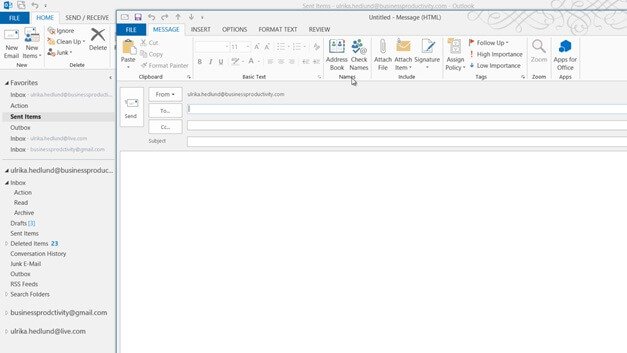
To add a signature to your email, click “New Email” and under the “MESSAGE” tab click “Signature” and then “Signatures”.
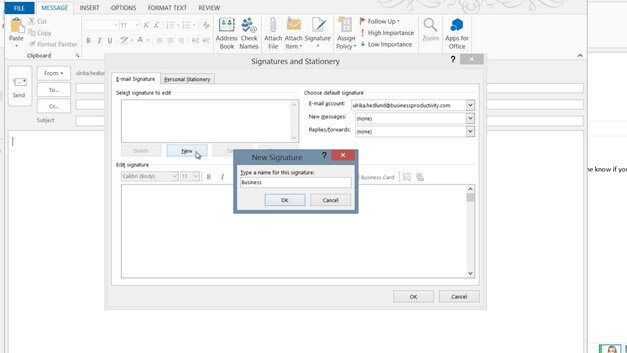
Click “New” and give your email signature a name. I’ll name this signature “Business” And click “OK”.
Now you can write your signature directly here in the text box, or as I prefer you can edit your signature in Word and then just copy it from there. Here is my email signature that I created in Word.

To add icons with links to social media pages click “INSERT” and then “Online Pictures”. In the Bing Image Search text box, search for the social media logo. I’ll write “facebook logo” here.
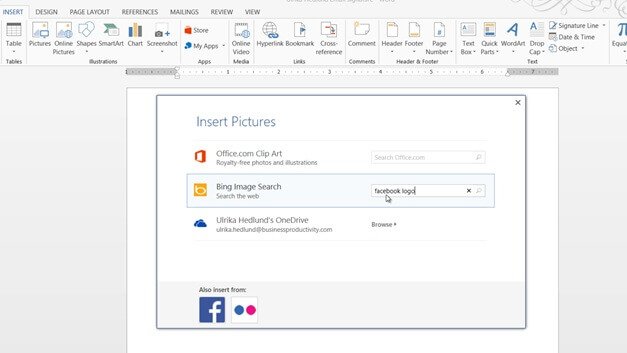
I’ll select a logo and insert it. Under the “FORMAT” tab, in the “Size” section I’ll change the width to 0.2. Then I’ll right-click and select “Hyperlink”. Here I’ll enter the address to our company facebook page. Then I’ll do the same for all other social media pages I want to add.
If you’ve used someone else’s email signature as a template, double-check the hyperlink of the email address, so that it’s the same as the displayed text.
I’ll mark the signature, right-click and copy, then I’ll open up the email signature text box, right-click and select to paste keeping the source formatting. There that looks good. In the “New messages” drop down I’ll select my newly created Business signature and then I click OK. Now if I click “Signature” the Business signature I just created is visible and I can just click it to insert it into my email. And the next time I open up a new email the signature is there from the start.
Writing proper email (02:47)
Let me go to my “Draft” folder to see a: number of email that I’m working on. Email should be written to the point, without unnecessary abbreviations and without spelling mistakes.
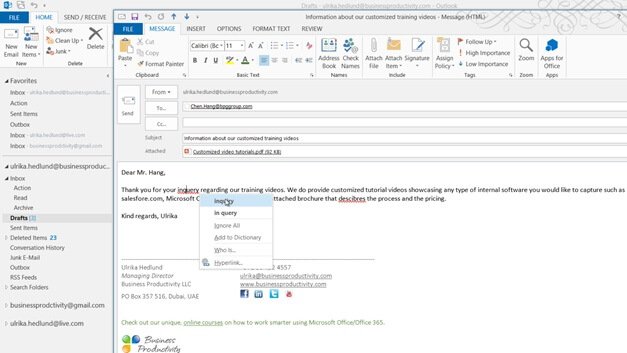
Here I’ve drafted an email to a potential customer who has contacted us through our web site. The subject line should clearly communicate what the email is about. Think of it as a summary of the email.

The salutation depends on how well you know the person you’re sending the email to and of course where in the world you are doing business, different countries have different salutation conventions. I don’t know the gentlemen I’m sending this email to, so I’ll use the greeting salutation “Dear Mr. Heng.”
Correct your spelling mistakes (03:32)
It’s also very important that you check your email messages for spelling errors. By default, the spell checker is turned on in Outlook so you can see a red squiggly line under the words that are incorrect. I can quickly fix my mistakes by right-clicking the word and selecting the suggested spelling.
In addition to checking spelling as you type, you can configure Outlook to alert you before sending out email with errors.
If I click “Send” here, Outlook will open a spell check window giving me the opportunity to correct my misspelled word. I’ll click “Change” and then the email is sent.

To configure spelling options in Outlook go to the “FILE” menu, “Options” and then “Mail”. Make sure that “Always check spelling before sending” is marked. This way, you minimize the risk of sending an email with spelling errors.

Click “Spelling and Autocorrect” so see more options. Mark the option to also mark grammar errors, click “OK” and the “OK” again.

Email attachment alerts (04:39)
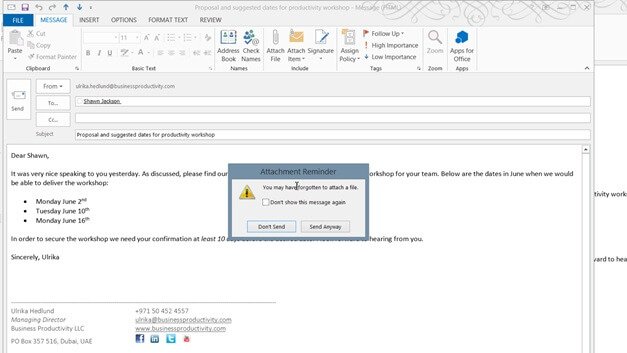
Here I have an email that I’m sending to an existing customer who called me and asked me to send a proposal and suggested dates for an onsite productivity workshop for his team.
In this case I’m on a first name basis with the customer so I’ll just use the salutation “Dear Shawn”. When you write an email, try to be as clear as possible so that you leave no room for misunderstanding. Use bullets to list options that have no particular priority order. Use numbered lists if the items are listed in order of preference.

I’ll click “Send” to send off the email. As you can see, I forgot to add the attachment with the proposal. Luckily in Outlook 2013 Microsoft has added an “Attachment Reminder”. So if you have included words such as, “see attached” or “enclosed” in the text of your email, but not inserted an attachment Outlook will show you the reminder.
I’ll click “Don’t Send” and then I’ll insert the proposal and send the message again with the attachment.
Think twice before recalling a message (05:45)
Sometimes, you send email that you desperately want to take back. In this case I forgot to double check the name on the cover letter of the attached proposal. I’ll go to my Sent Items and look at the attachment. I’ll select to preview it in the email window. And just as I feared, I sent the proposal with the wrong customer name on the cover sheet.
If I open up the email and click “FILE”, I have the option to “Resend or Recall” the message. But unfortunately in most cases this does not work.

Message recall only works on email sent to people within your own organization if you are running Exchange, and even then it’s not certain that all criteria are met for it to be recalled. Let’s see what happens when I try to recall this message.
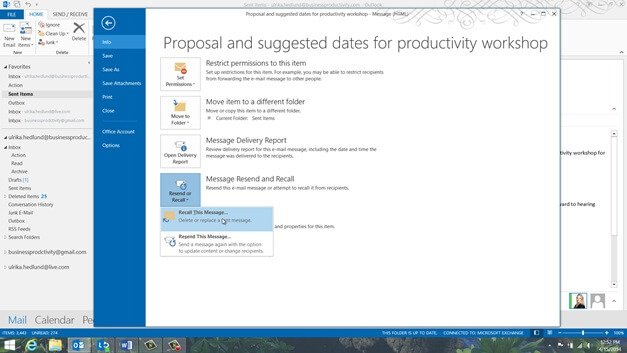
I’ll click “Recall This Message” and then I’ll select to “Delete unread copies and replace with a new message” and click “OK”.

In the email I sent I’ll remove the incorrect attachment and insert an updated corrected proposal and then I’ll click “Send” again. Now let’s switch over to Shawn’s inbox to see what this looks like for him.
As you can see in Shawn’s inbox the email has not been recalled and replaced with a new one, instead he has three email from me. The original email I sent, a message that has been generated automatically saying that I wish to recall the message, and finally the new updated email. By using message recall you just add more visibility to your mistake. So in most cases its best not to use it and instead just send another, corrected email.

Using tables for clarity (07:27)
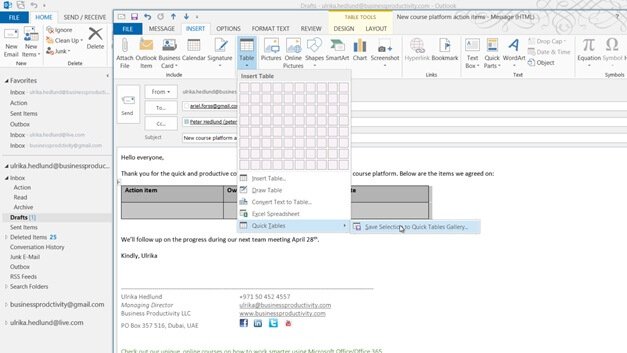
My final draft email is to some of my co-workers and it includes a number of action items. The people on the “to” row all have action items assigned to them. I have Peter on cc, since he doesn’t have any action items but he is involved in the project so he should be kept informed about what’s going on.

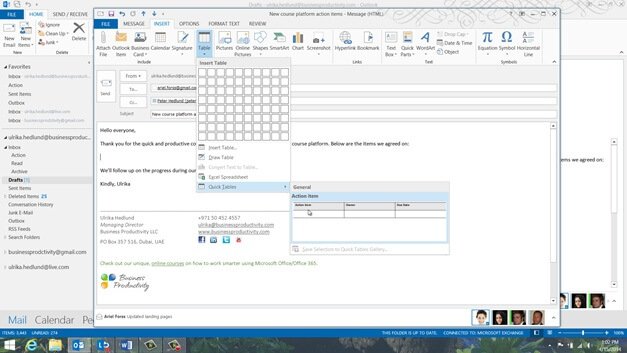
In order to properly communicate who does what by when I’ve put the action items in a table. To insert an action list table in an email click “INSERT”, “Table”, and then mark three columns. In the first row I’ll write the column titles, “Action item”, “Owner” and “Due date”. I’ll change the shading to grey and make the text bold.

To save time next time I want to use an action list table I’ll save this to my templates. To do that I’ll mark it, click “INSERT”, “Table”, “Quick Tables” and select to “Save selection to Quick Tables Gallery”.
I’ll keep the default name and click “OK”.
Now next time I want to add an action item table I’ll click “INSERT”, “Table”, “Quick Tables” and select my action list table. Then I can just fill in the decided upon action items and then send off the email.
Turning on automatic replies (08:46)
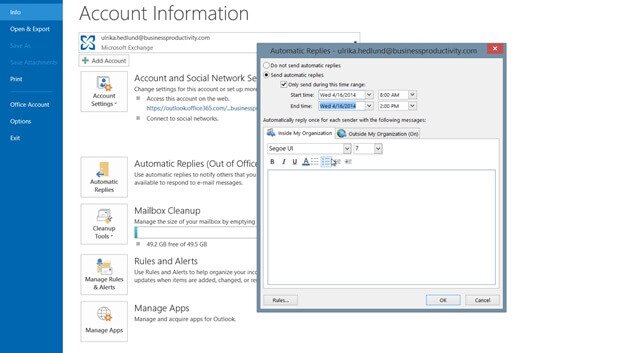
Before I close down Outlook I’m going to turn on an automatic reply since I’ll be traveling for two days with limited time to respond to email. To add an automatic response in Outlook, click “FILE”, and then “Automatic Replies”. This is only available if you use Outlook with Microsoft Exchange server. Mark “send automatic replies” and check the box to only send the message during a defined time range and set the dates and times for when you will be away.
In the message that I’m sending inside our organization, I’m telling them what I’m doing, and how they can get hold of me. Then I’ll go to the “Outside My Organization” tab. In this reply I’ll be a bit more formal. I’ll provide contact details for the person acting in my absence. I’ll also add my email signature, which is not included by default.
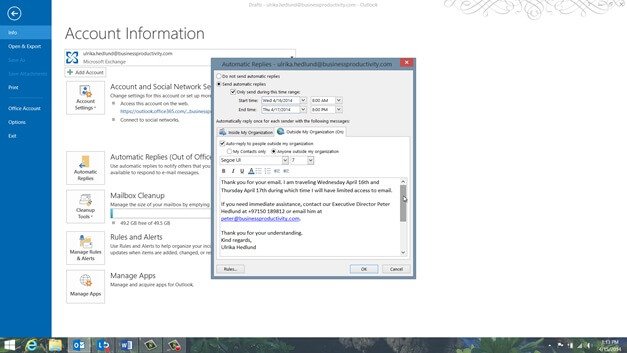
The images I have in my normal email signature won’t appear so I’ve just included the most important details. I’ll click “OK” to apply the settings.
Next day when I travel, I can see an information bar in my inbox telling me that automatic replies are being sent for this account. I can easily turn them off again by clicking “Turn Off”.

By following the advice in this video I’m sure you’ll be much more effective in your email communication.