Work effectively as a team using a joint digital workspace
Learn how to create a team site using SharePoint in Office 365
Introduction (00:03)
Welcome to Business Productivity, I’m Ulrika Hedlund. If you are more than one person working on a project or a document, you need to easily be able to share information with each other. Many customers I meet use Email for sending documents back and forth. And this quickly becomes very unproductive if you are many people sharing the document.
In this video I’ll show you how you can create a joint digital workspace using SharePoint in Office 365 to effectively work together as a team. Let me show you how you can get started!
Overview of our Company Portal (00:34)
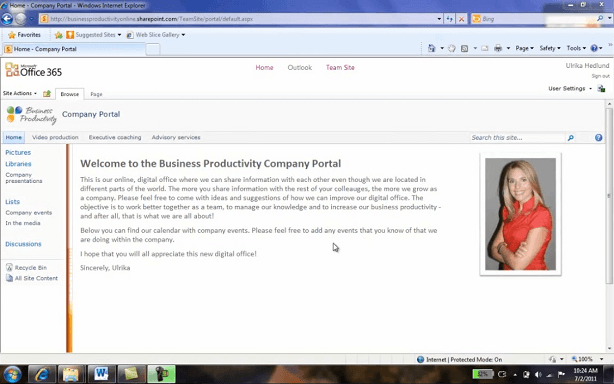
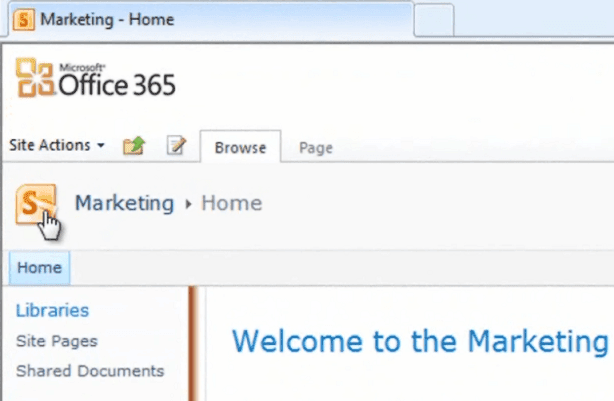
This is the first page of a company portal on Office 365.
This is where we share information with each other on a company level. Company presentations, company events, articles about us in the media, etc. What I want to do now is that I want to create a new collaborative area for the marketing department, so that they can work together on marketing collateral.
Create a new team site (00:55)
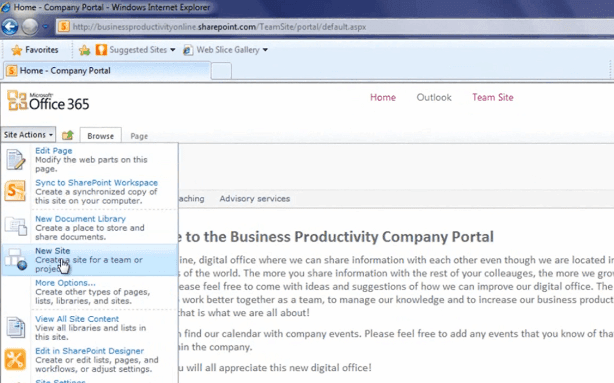
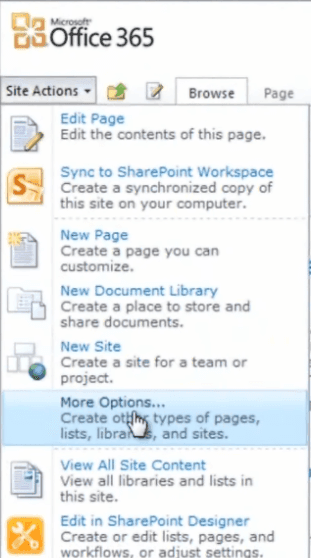
To create a new collaboration site you go to “Site Actions”, and “New Site”.
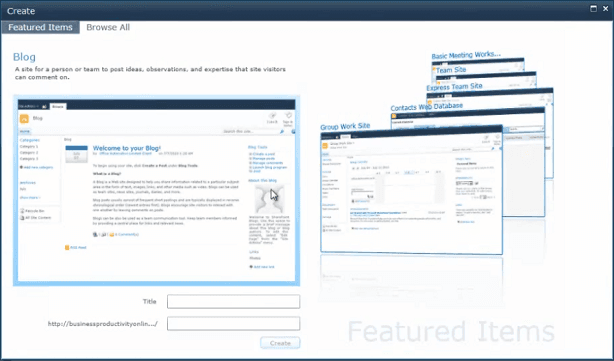
If you don’t have permission to create sites you won’t be able to see this menu. In that case, just talk to your administrator and make sure that you have the right privileges in order to be able to create this site. I always recommend organizations to be very generous when it comes to getting permissions to the employees. Because you want to encourage them to create sites and to share information with each other. When you click “New Site” you are presented with a number of different templates for your workspace. You can easily browse through these by just clicking on the image. So here’s one for a team blog:
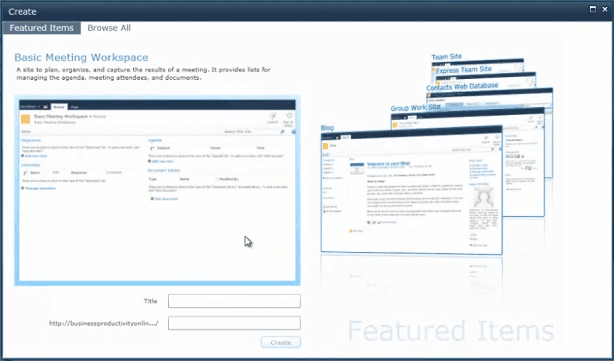
And here’s one for a meeting workspace:
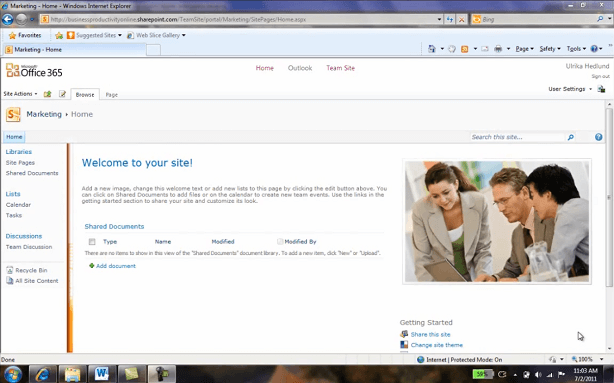
The one I want to choose is the one for a team site. This comes pre-populated with some tools to help teams work better together. So to create this I just write the title, and click “Create”. And here it is:
Customize the team site to fit your team (01:55)
Now before I go ahead and share this with the other people on the team, I want to make some modifications. I want to change the text, the logo, this picture and then I want to change some of the libraries before I share it with the rest of the team.
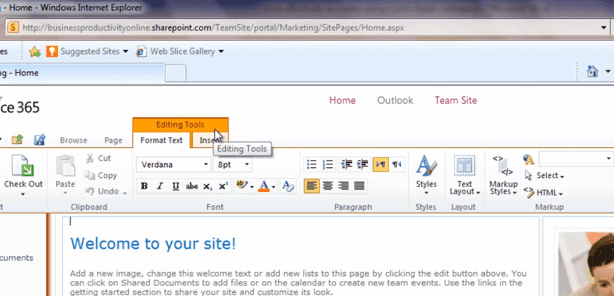
To change this text I click on the “Edit” button. And all of a sudden the “Editing Tools” appear. Now I can just write like a normal document.
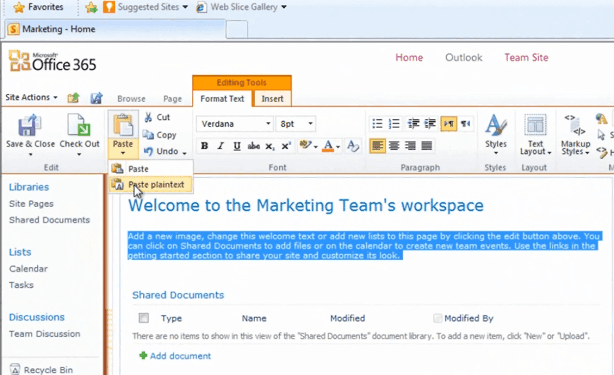
I’ve prepared an introduction text that I’ll just copy and paste into here. Okay!
Insert a picture of your own team (02:35)
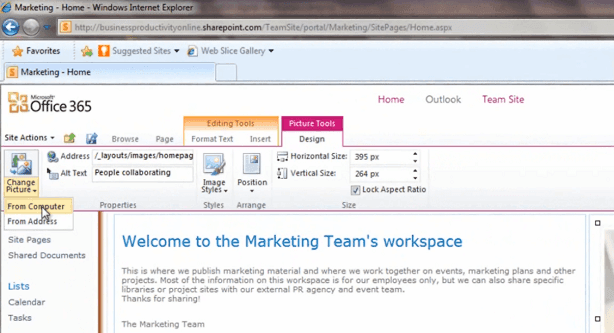
To change this picture I’ll just click on it, and then go to the “Picture Tools”. Click “Change Picture”, and in this case I want to take a picture that I have on my computer [Click “From Computer”].
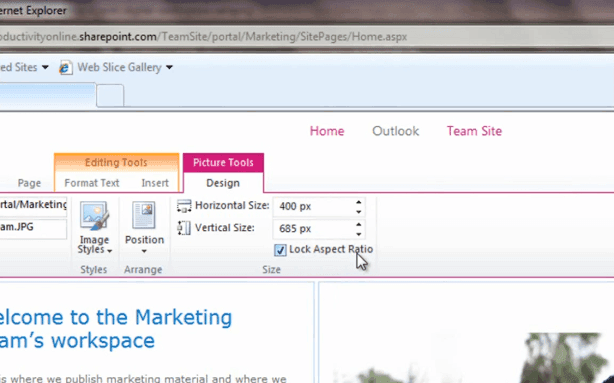
And choose the picture of the marketing team. The picture will be uploaded to the library called “Site Assets” that has already been created for me. As you can see this image is now way too big so I want to resize the picture. To do that, just go to the “Design” tab again, and change the “Horizontal Size” to something smaller, like 400 pixels.
If you have “Lock Aspect Ratio” checked, then you only have to change one of the sizes. It will keep the ratio. And then click “Save”. That’s much better!
Insert your own logo (03:36)
Now I want to change this image to our company logo.
Now, unfortunately I have to upload this image first before I can change it. So to do that I’m going to create a picture library. I’ll go back to “Site Actions”, and then “More Options”.
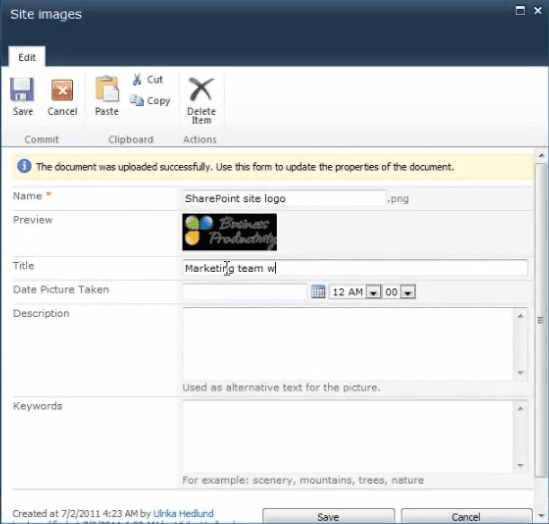
Here you can choose from a number of different items. So I’ll scroll down to “P” for “Picture Library” and name the picture library. Now I’ll upload the logotype. And put a title.
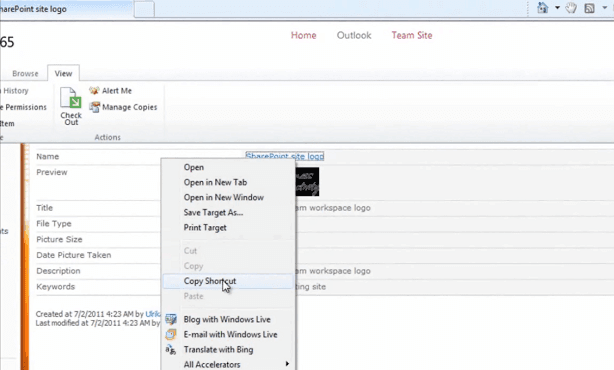
It looks like this image has a black background, but in reality it’s transparent. So what I want to do now is that I want to copy the link to this picture. So I’ll just copy the shortcut and then I’ll go back to my site.
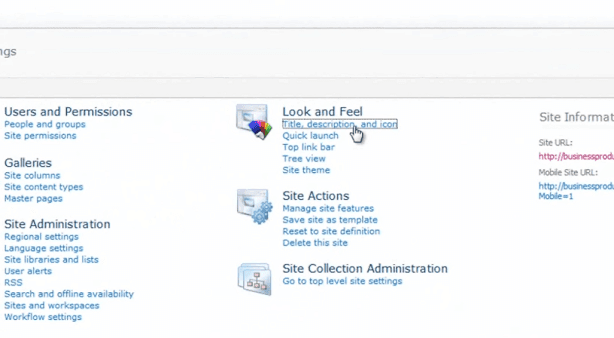
Now, to change the logo, I have to change the site settings. To do that, go to “Site Actions” and then “Site Settings”. Go under the title of “Look and Feel” and choose “Title, description and icon”.
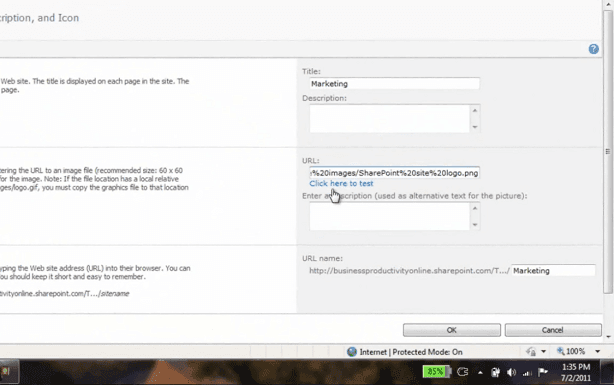
Here you have the “Logo URL and Description”. So I’ll just paste in the shortcut that I just copied. And then click to test it.
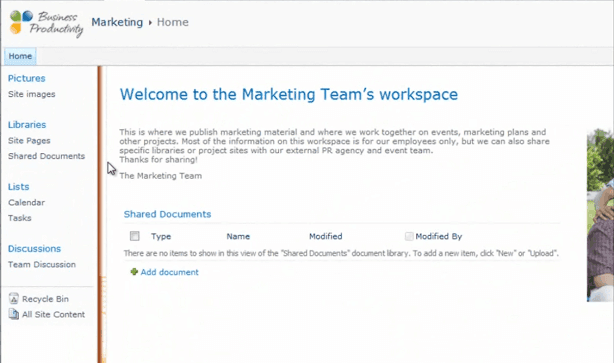
There! It looks good! As you can see the icon has now been replaced with my logotype.
Change the library names to things that make sense for your team (05:02)
Now we’re almost done but before I share this with the marketing team I want to have a look at the libraries. As you can see I have two libraries here; “Site Pages” and “Shared Documents” that are available here in the quick launch area.
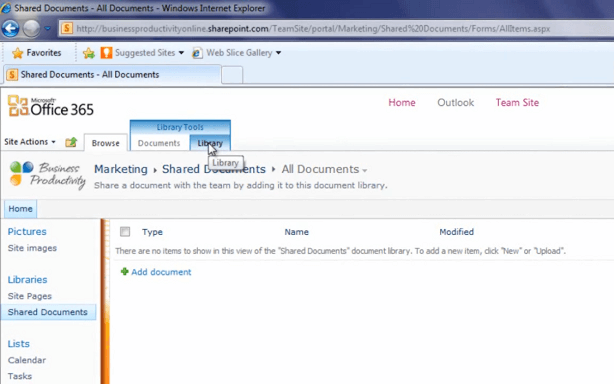
I also have a short cut to the same library right here from the front page. As you can see there are no documents in this document library. I want to change the name of this library, because “Shared Documents” doesn’t really say a lot. All the documents on this workspace are shared. So I want to give this library a more descriptive name. To do that, I’ll go to the “Library Tools” tab and click “Library”.
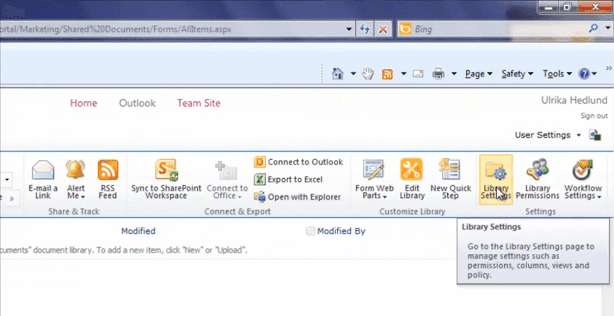
Here I’ll go to the “Library Settings”.
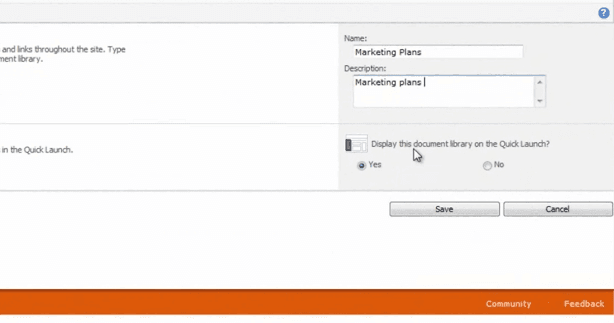
I’ll go to “Title, description and navigation”. And instead of “Shared Documents” I want to name this library “Marketing Plans”. And put a short description. Under the navigation section I can choose whether or not I want this library to be visible in the “Quick Launch” area. And I want this to be visible so I’ll just leave the “Yes” option.
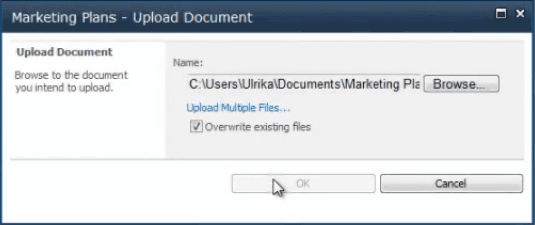
I’ll go back to the “Document Library” and I’ll add a marketing plan for the year.
Personally I don’t like to have empty document libraries in my workspaces. So if you don’t have any documents that you want to share with your team yet, just delete the document library and then create it again when you need it.
Make your libraries easy for your team to find (06:27)
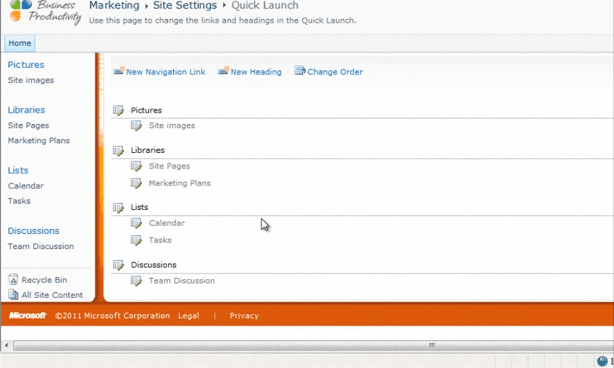
Now, the final thing that I want to do with this workspace before I share it with the rest of the team is to customize this quick launch area. To do that, go back to the “Site Settings” and choose “Quick Launch”. Here you can change the links that are visible in the quick launch area.
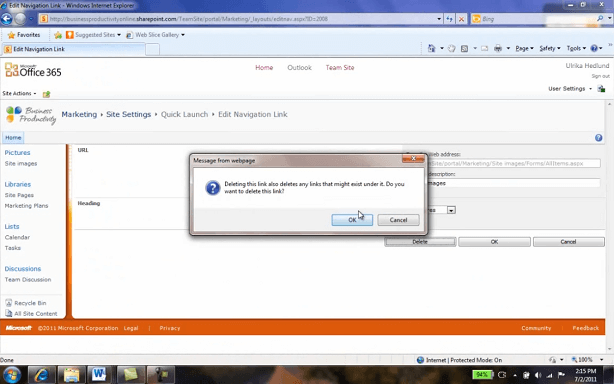
Here I want to remove the links that the marketing don’t really need to have access to. So, for instance, “Site Images”, I can delete this link.
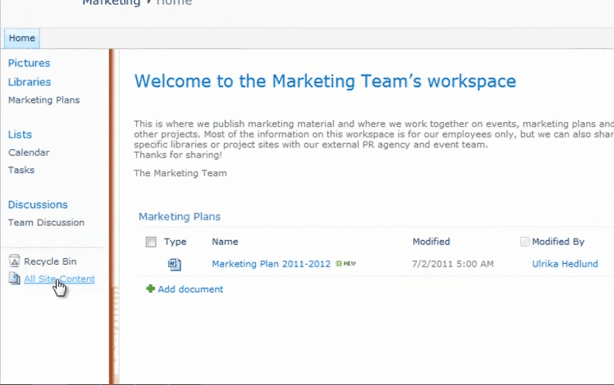
You don’t have to worry about deleting the actual library itself; here we’re just deleting the link. There! Now let’s go back to the site. You can see now that we only have links to the libraries that are relevant to the marketing team. If you want to see all the libraries in your workspace, you can just click “All Site Content”.
You will see everything that you have in your workspace. There! Now we’re done! Now I can let the marketing team know they have a new collaborative workspace where they can share information with each other.
Closing
Now you know how to create a digital workspace so that your team can start working effectively together. Now I recommend that you invest some time and watch some more videos of how you can use this workspace. I’m Ulrika Hedlund for Business Productivity. Thank you for watching!


