Send a document for review
Learn how to track changes in a document in Word 2010
Introduction (00:04)
Welcome to Business Productivity – I’m Ulrika Hedlund. When you’re working on a document it’s very beneficial to ask someone to review it for you. The person who is reviewing the document can give you valuable feedback on the content, the formatting and the layout of the document since they are seeing it with a fresh pair of eyes. Sometimes you might agree with the proposed changes, other times you want to stick to what you wrote originally. Word 2010 helps you keep track of all changes and allows you to accept or reject them.
In this video I’ll show you how you can send a document for a review; I’ll show you how to track changes and how you can finalize your document by removing all remarks. I’ll also show you what you can do if someone else has reviewed your document and made changes without tracking them. Let me show you!
Send a document for review 00:58
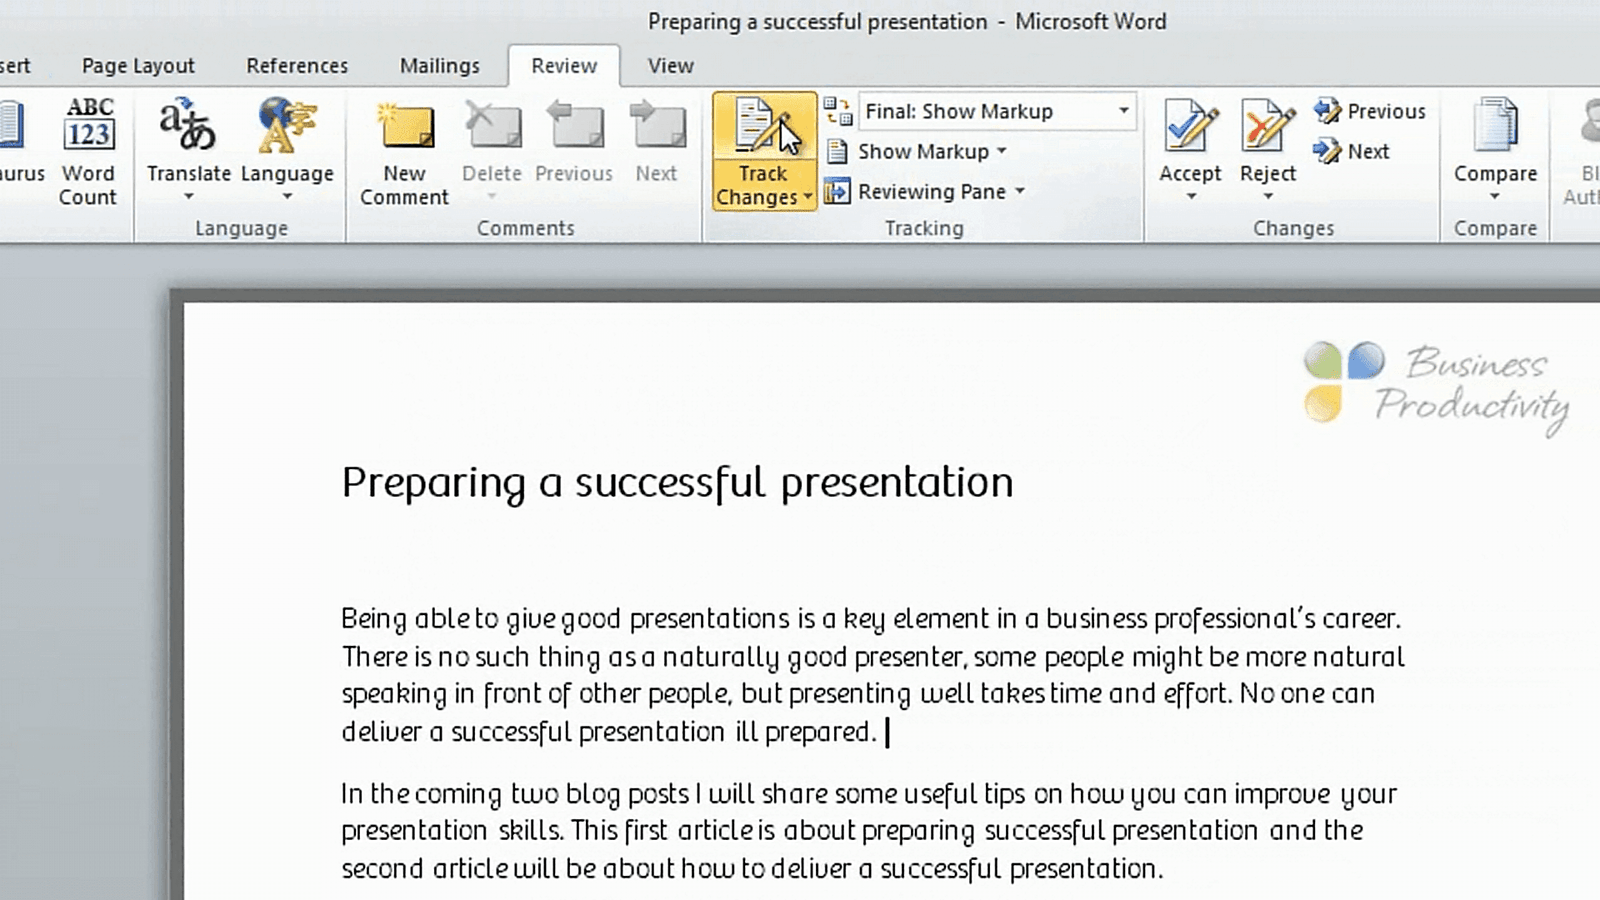
Here I’ve written a blog article that I want to publish on our website. Before I publish it I’d like to ask Rebecka to review it for me. To make sure that Rebecka tracks the changes I’ll click the Review button and then click Track changes and then save the document.
Now I’ll send it to her in an email attachment. I’ll click “File”, “Save & Send” and then “Send as attachment”. And then I’ll say “Hi Rebecka, can you please help me review this blog article? Thanks” and then I’ll just send it to her. So now let’s switch over and pretend that we’re Rebecka.
Now I’m logged in as Rebecka; I’ve received the document that I’ve been asked to review. I’ll open it up and now I can start reviewing this document. If I click Review I can see that the Track changes are on, but I don’t see this if I’m on the “Home” tab. I recommend that you add Track changes to your Status bar. To do that just right click and select Track changes.
This way you can easily see if the track changes are on or off. I’ll go back to the “Review” tab and now I’ll start reading through this document.
Making proposed changes to a document 02:13
When I make changes to the documents these are highlighted so they’re easy to spot. First there’s a line to the left of the text and then the inserted text is highlighted with a color. You can change the way this is highlighted by clicking “Change Tracking Options”. However, I don’t recommend that you change anything here; just leave it as it is. Here I’ll change the formatting of “preparing” to italic for more emphasis. And I’ll do the same with “how to deliver”. If I want to undo a change I can just click the Undo button or I can right-click the formatting balloon and select “Reject Format Change”.
Here I’ll just change the formatting of the word “deliver” instead. As you can see all the formatting changes are highlighted with balloons.
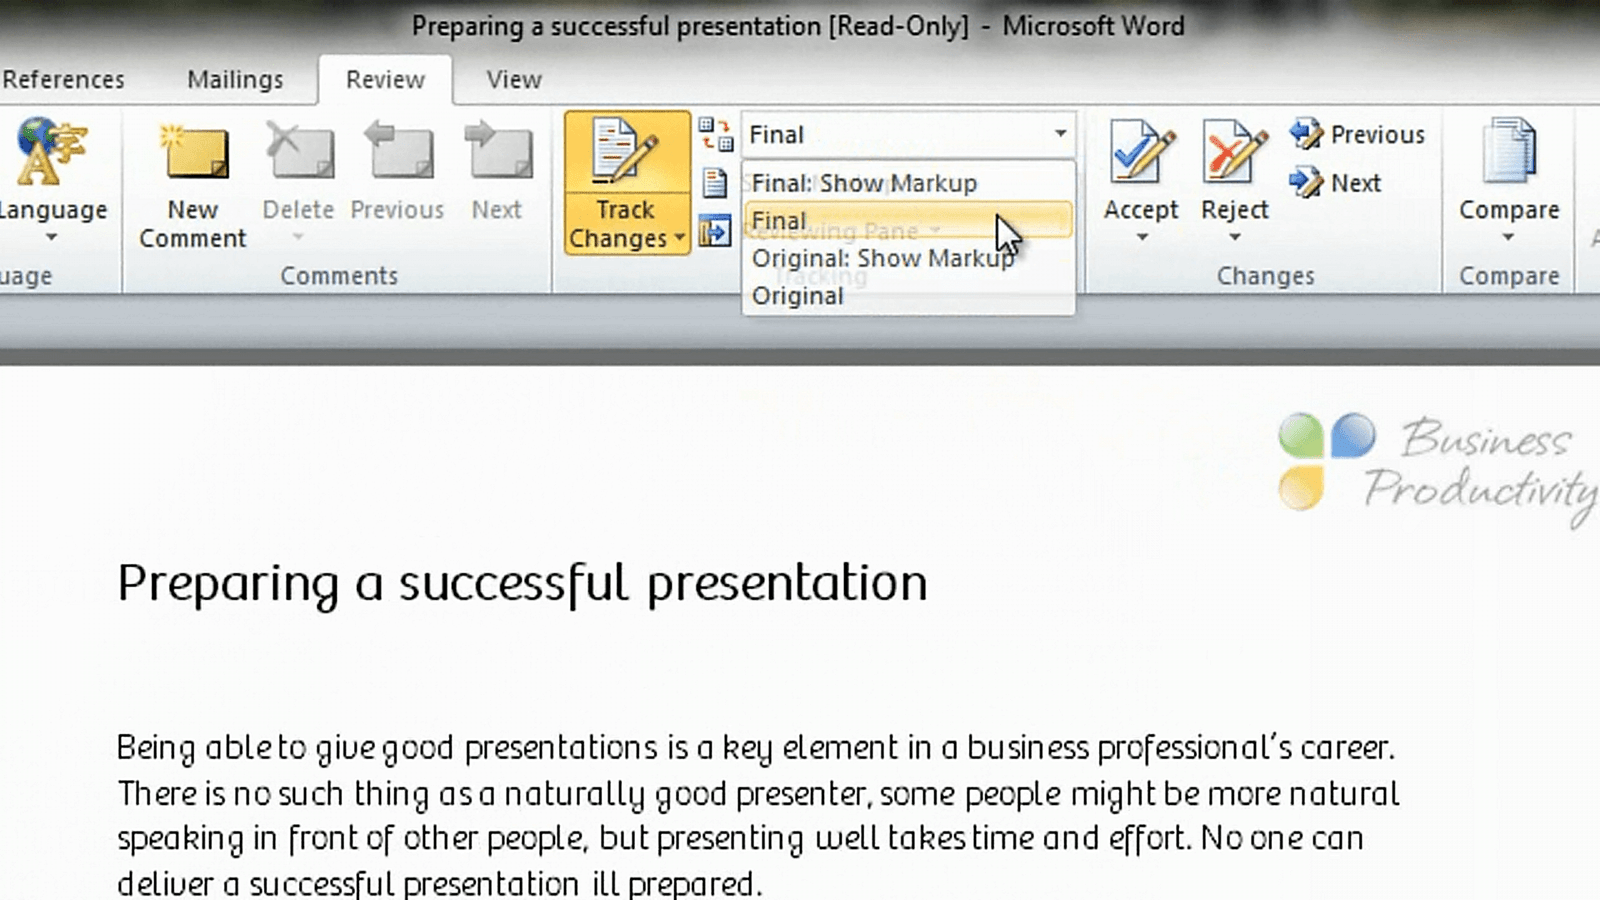
Further down in the document I can see “What are they expecting?” and “What are their expectations?” Since this is the same thing I’ll just mark one of the lines and click the Delete button to remove this. If I want to see what the final document will look like if all of these changes are accepted you can go to the Tracking area of the “Review” tab and select “Final” in the dropdown menu.
This way you get a good overview of what the final document will look like. To go back and see the original document that I started reviewing you can just click “Original”. Now I’ll go back to show the final mark-up.
Adding comments to a document 03:39
In addition to inserting, deleting and changing the formatting you might want to add comments. To add a comment just mark the text your comment is referring to and click “New Comment”. Here you can add your comment. In my case I’ll write “Aren’t these the same? Or do you mean something else?” When I’m done reviewing the document I’ll just click “File”, “Save As” and then save it as a new document on my PC. Now I’d like to send it to one more person for feedback. So I’ll send this to Saad and just ask him to review the document, and then I’ll send it.
Accepting or rejecting changes 04:23
Now I’m back as myself looking at the document that both Rebecka and Saad have reviewed. To get a good overview of all of the changes that have been made to this document I can click the “Review” tab and then select “Reviewing Pane”.
Here I can see that three insertions have been done, three deletions and two formatting changes and I have one comment. You can also select to have the Reviewing Pane horizontally if you think it takes up too much space. For now I’ll just chose to remove it. I can see who has reviewed this document by clicking “Show Markup” and then look at the reviewers. I can also put my mouse pointer over the change and I will see who made the change, when and what change they did. Now to accept or reject these changes I’ll start at the beginning of the document and then in the “Changes” area I’ll click “Next”.
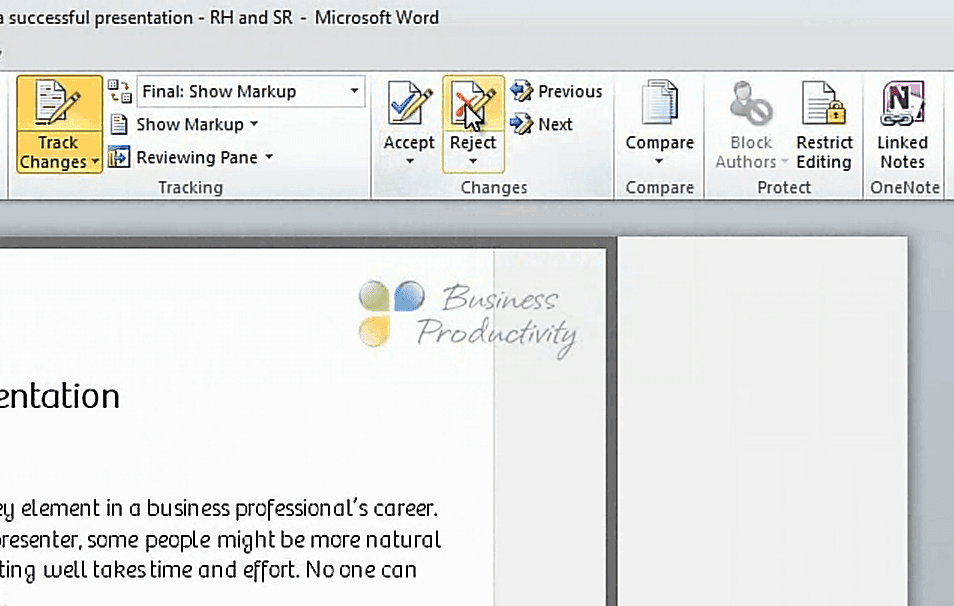
This way I’ll go to the first change. Here I can see that Saad has changed the sentence from “Being able to give good presentations” to “Being able to deliver a good presentation”. And this I don’t agree with. I want to stick with the original so I’ll just reject the deletion of “give” and reject the insertion of “deliver a”.
Word automatically steps to the next change. And here I can see the formatting changes to italic. And these I agree with so I’ll click “Accept” and also accept the insertion of “a”, which should have been there; I just missed it. So then just continue to walk through the document and accept or reject the proposed changes.
Accepting or rejecting all changes in a document 05:56
If you agree with all proposed changes in the document you can just click “Accept All Changes in the Document”. Similarly, if you don’t agree you can select to “Reject All Changes in the Document”. In this case I’ll choose to accept all remaining changes in the document. I still have the comment here from Rebecka. Just like with changes I can step through the comments in a document by using the “Next Comment” button.
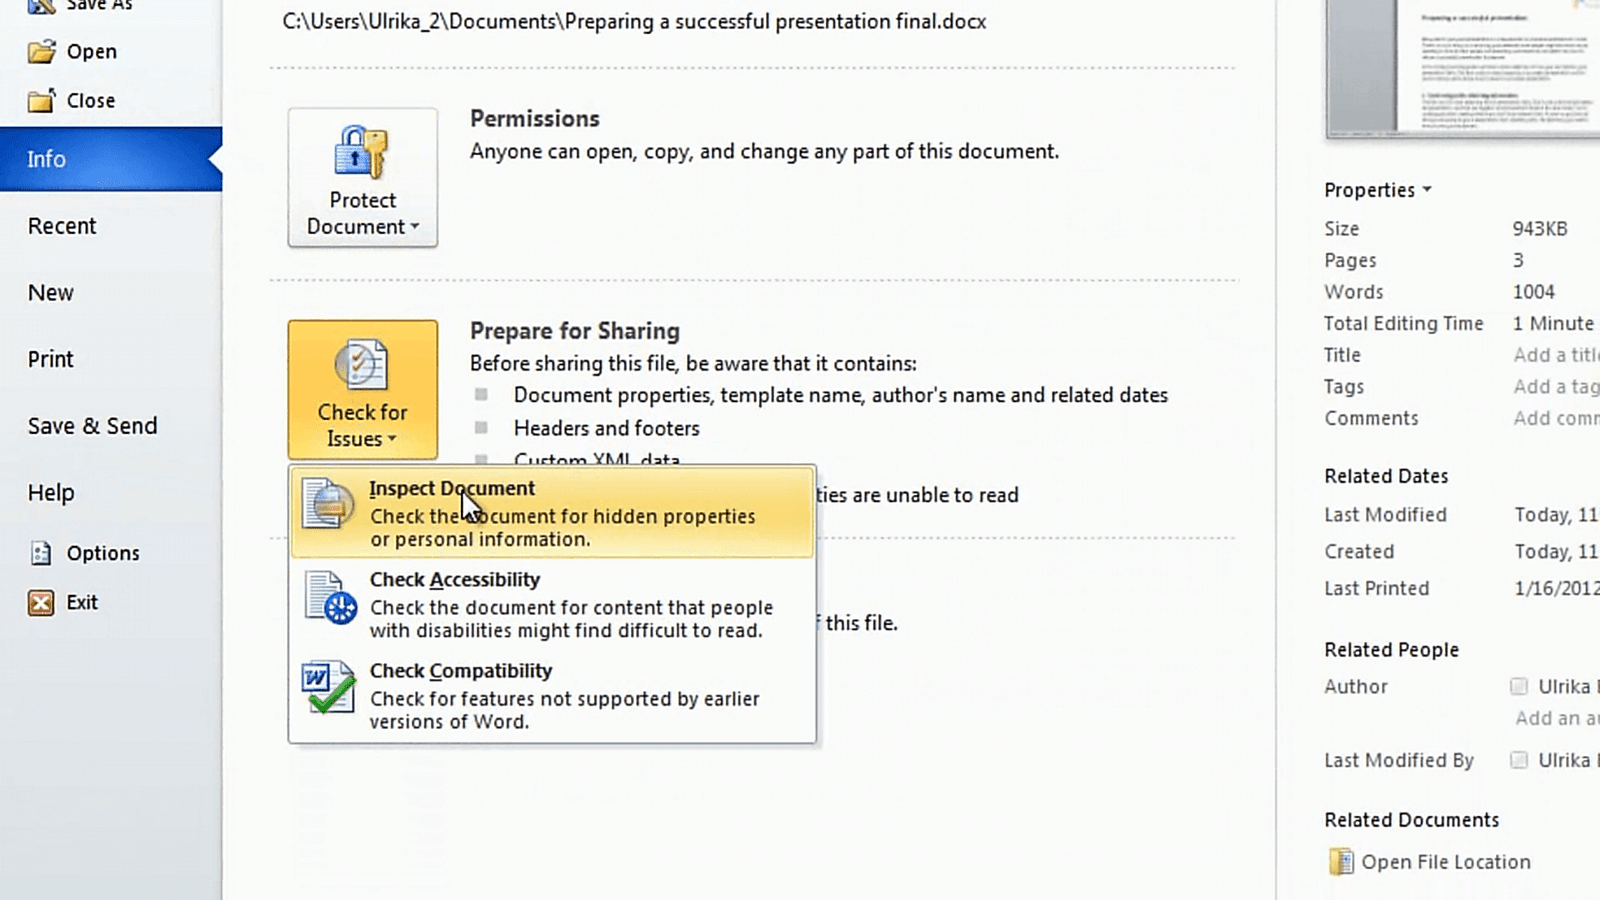
In this case I just want to delete this comment so I’ll click “Delete”. And now all of the tracked changes and comments have been removed. I can open up the Reviewing Pane just to make sure that I have no more remaining revisions. Another great way to make sure that you don’t have any hidden comments or changes is to inspect the document. First I’ll save this document [click File and then Save As]. Then I’ll go to the “File” tab, click “Check for Issues” and select “Inspect Document”.
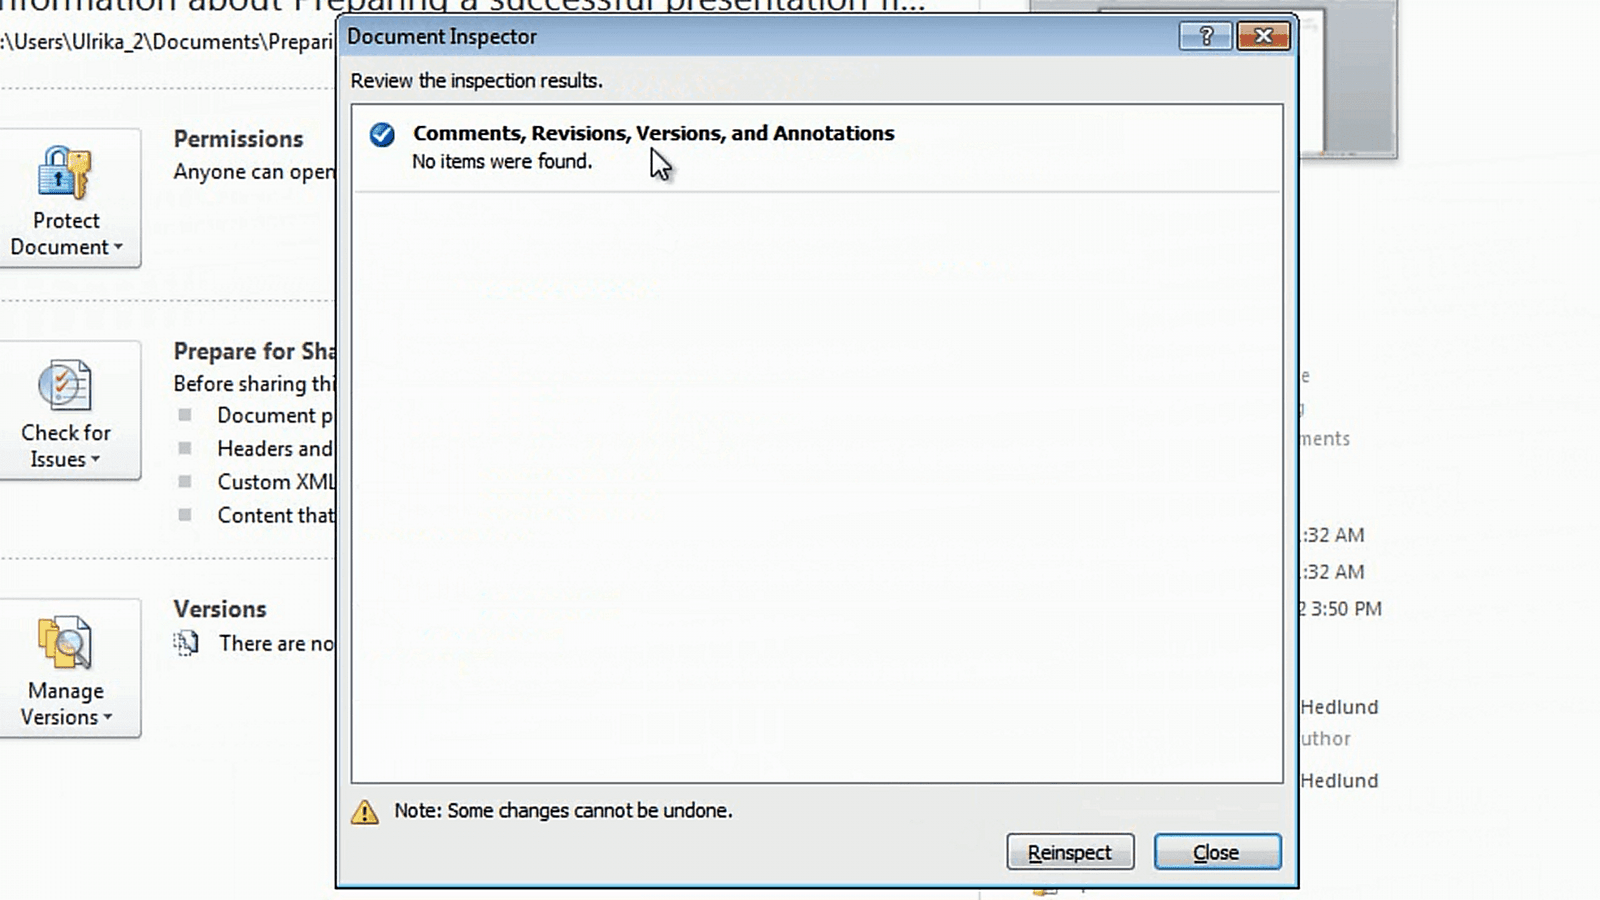
Here I can choose to check for comments, revisions, versions and annotations. I’ll just remove the other check-boxes and click “Inspect”. Here I can see that “No items were found” so I can be sure that there are no hidden revisions here. So now my document is ready for publishing.
Comparing documents 07:15
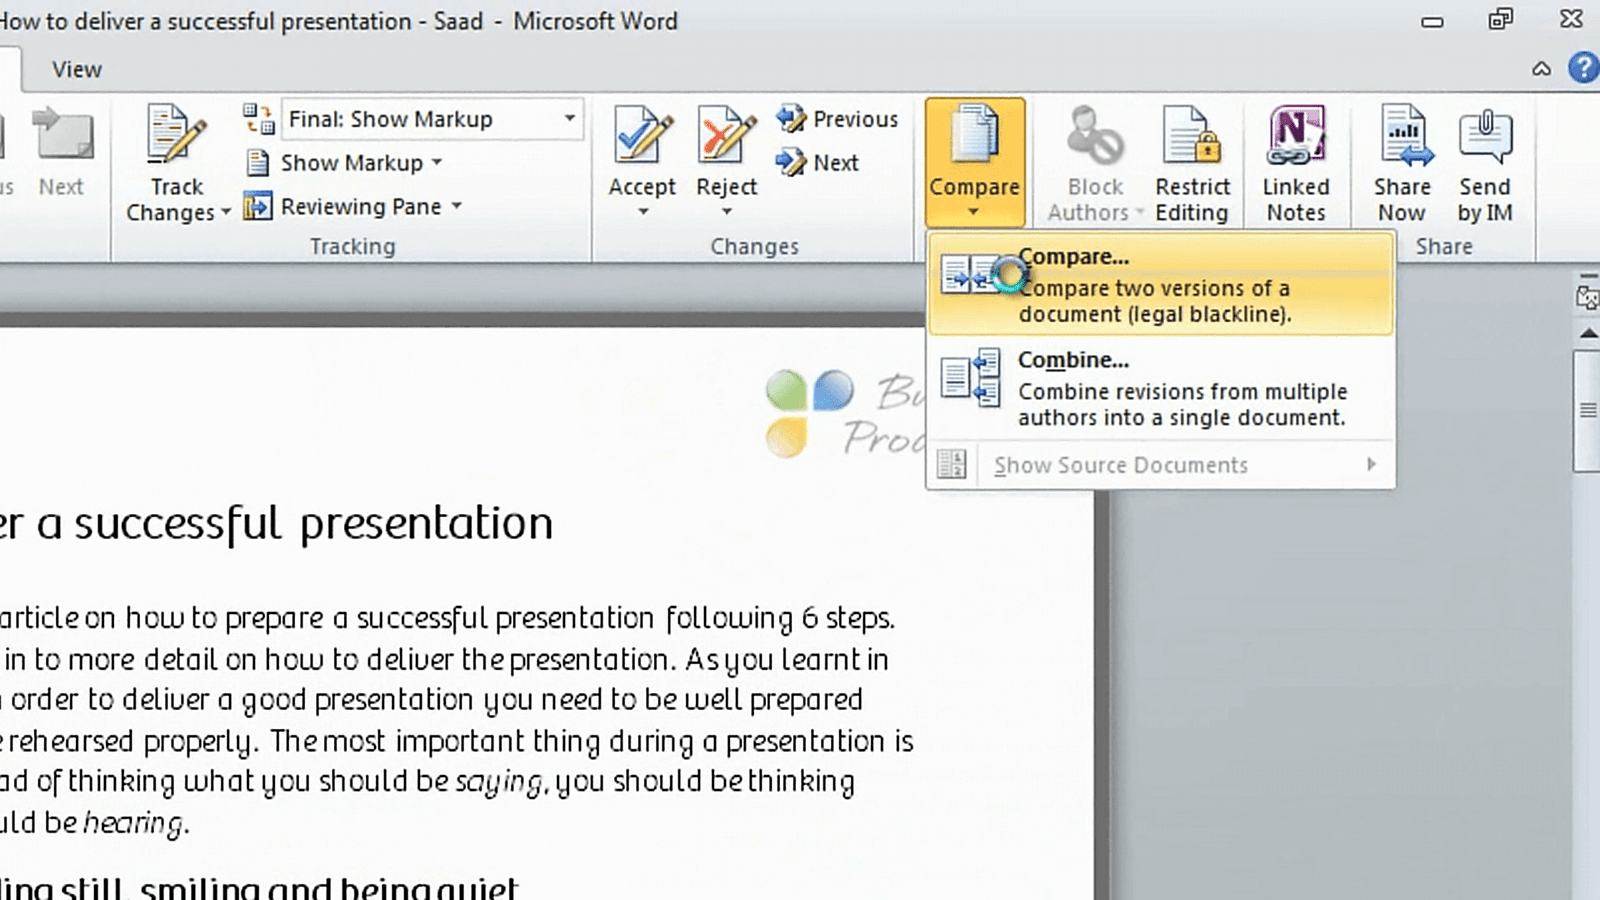
Yesterday I sent another blog article called “How to deliver a successful presentation” to Saad for him to review. If I go to my inbox I can see that he’s sent me the document with a few changes. But when I open it up the changes haven’t been tracked so there’s no way for me to know what changes he’s done and if I agree with them or not. What I can do now is that I can use a tool under the “Review” tab called “Compare”. So first I’ll save this document [click File and Save As] and now I’ll click “Compare”.
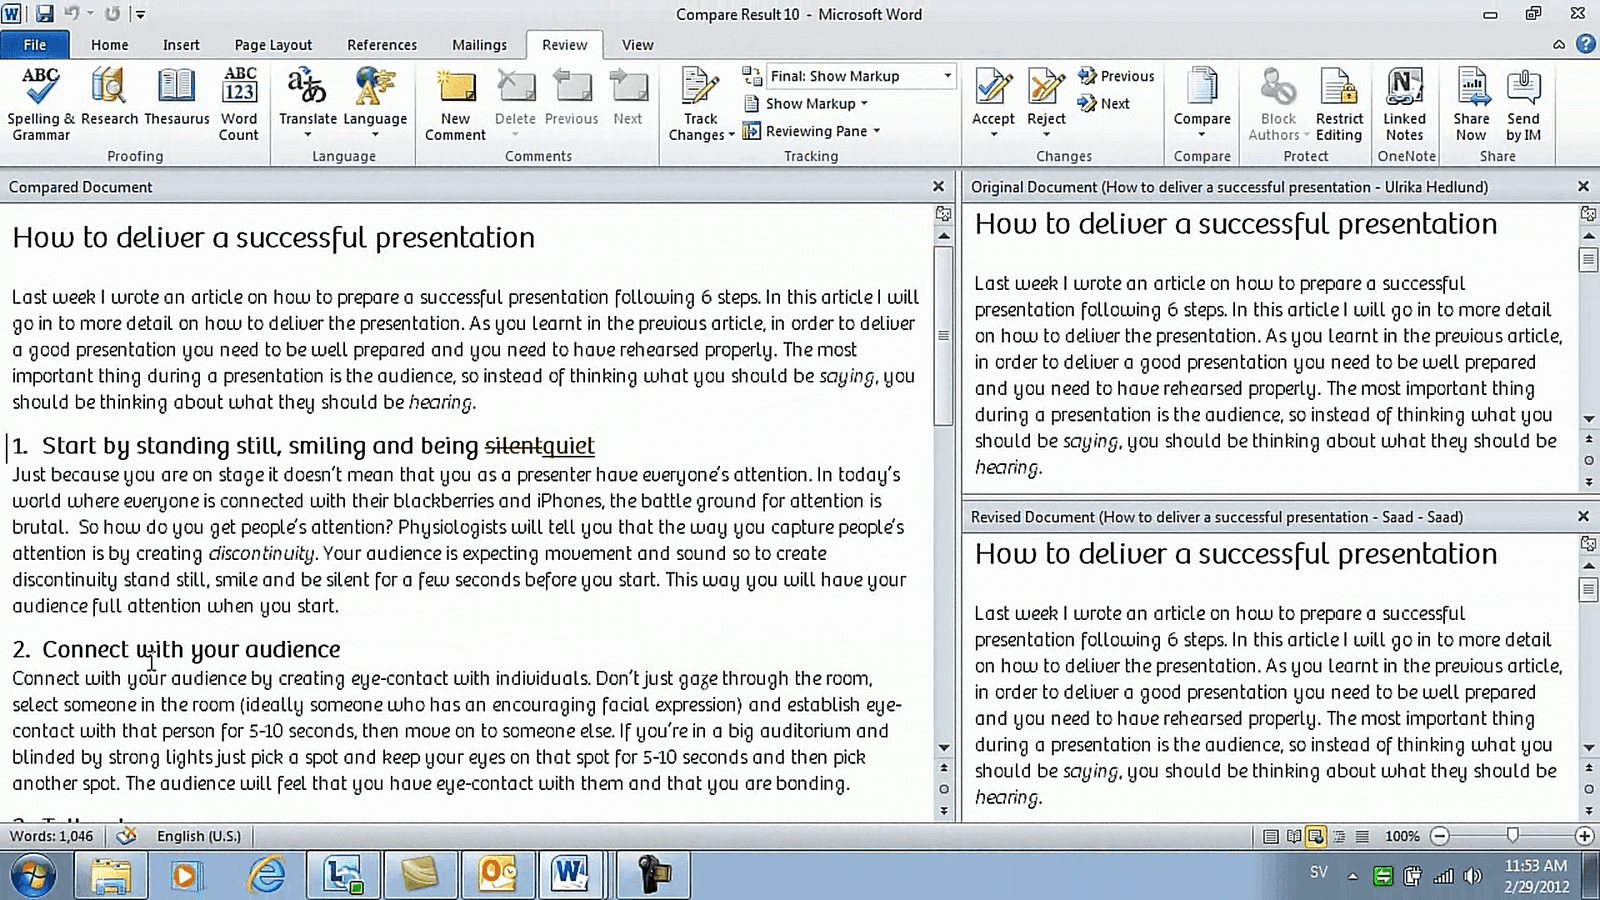
First, I get to select the original document and this is the one I sent to him. Then I’ll open up the revised document with his changes and I’ll choose to mark all the changes with “Saad”. And then I’ll click OK. Now you can see my original document here, the revised document with his changes underneath and then I can see the compared document on the left.
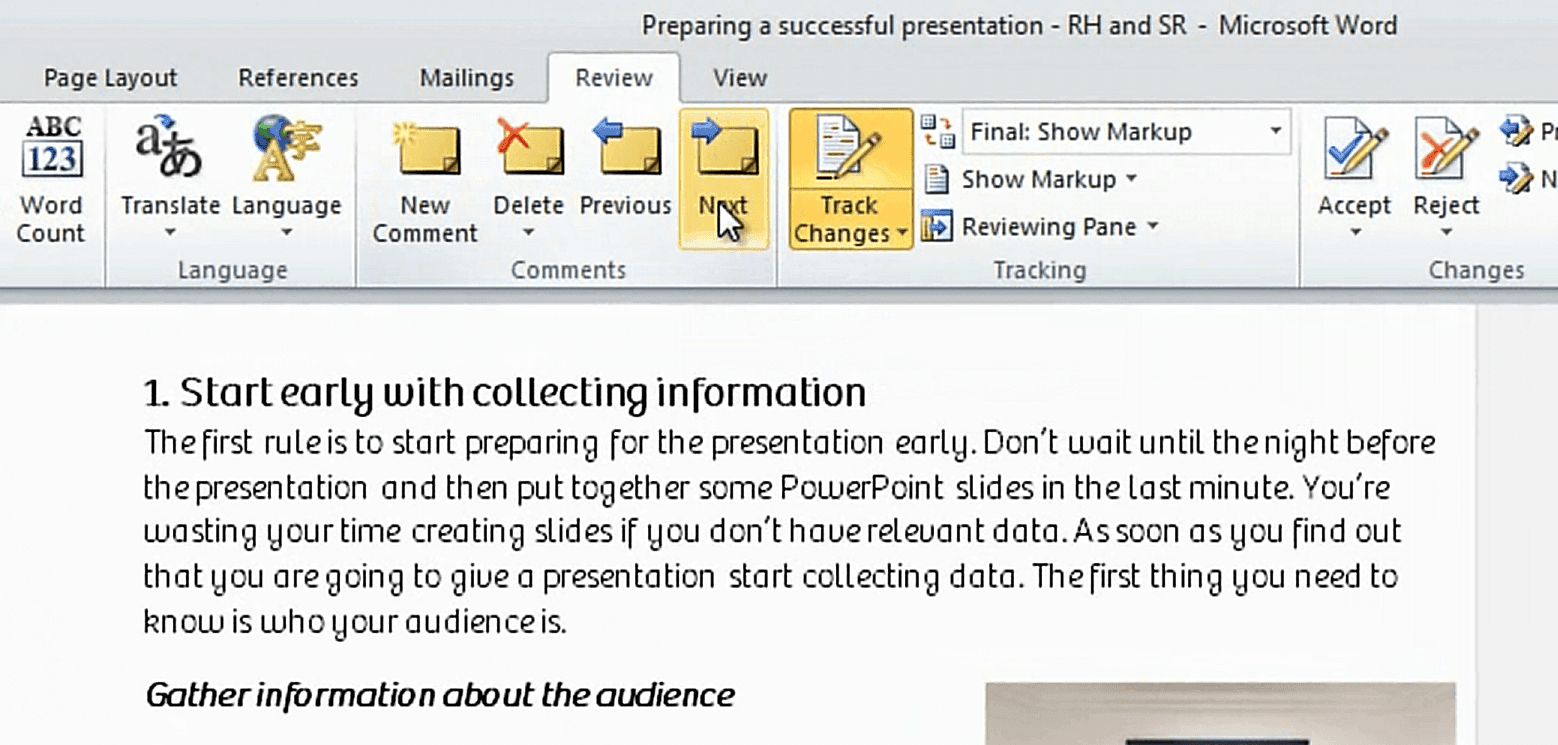
Just like before I can open up the Reviewing Pane to see how many changes that have been made to this document. I’ll click “Next” to go to the first change and just like before I can choose whether or not to accept or reject. Having Word compare the documents for me saves me a lot of time.
Closing 08:44
I know that some people find it very confusing to track changes in a document. But if you learn how to use it you can really save a lot of time and effort. It’s also a lot easier in Word 2010 than it was in previous versions, so if you’ve tried it before and given up, just try again. I’m sure you’ll be able to master it in no time! I’m Ulrika Hedlund for Business Productivity – thanks for watching!


