
Work on the go with OneDrive for Business
Video updated on 4th November 2019
In this story-based tutorial you will learn to:
- Save files to the cloud
- Synchronize files
- Access files on the go
- Share files
Saving documents from Office to OneDrive
I was just finishing a presentation about to head out for a meeting when I see a message from my colleague Kristina telling me that the deadline for the article that I was to write for a young female diversity blog is due today. I reply to her that I will work on it on the go and since I have a little bit more time before I have to leave, I open Word and start writing the article.
By saving your documents to OneDrive for Business your files are securely saved in the cloud and accessible from anywhere on any device.
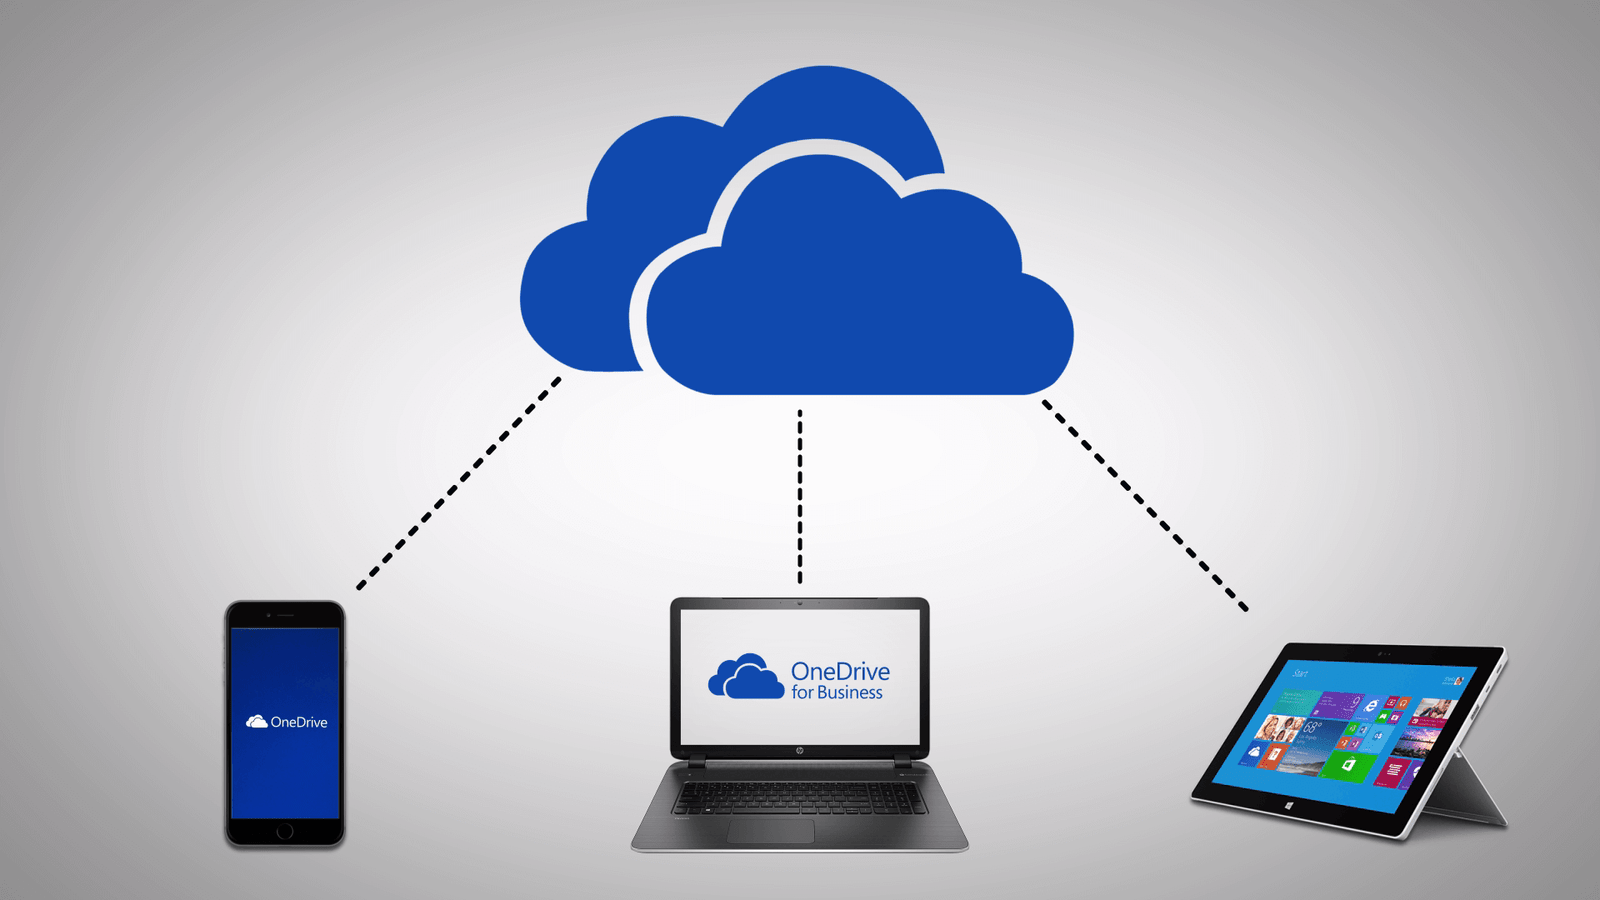
Using the OneDrive sync client, you can keep a local copy of your files on your computer so that you can work on them even when you are offline.
To save a document to OneDrive for Business click “File” – “Save As” and then select “OneDrive” followed by your company name.
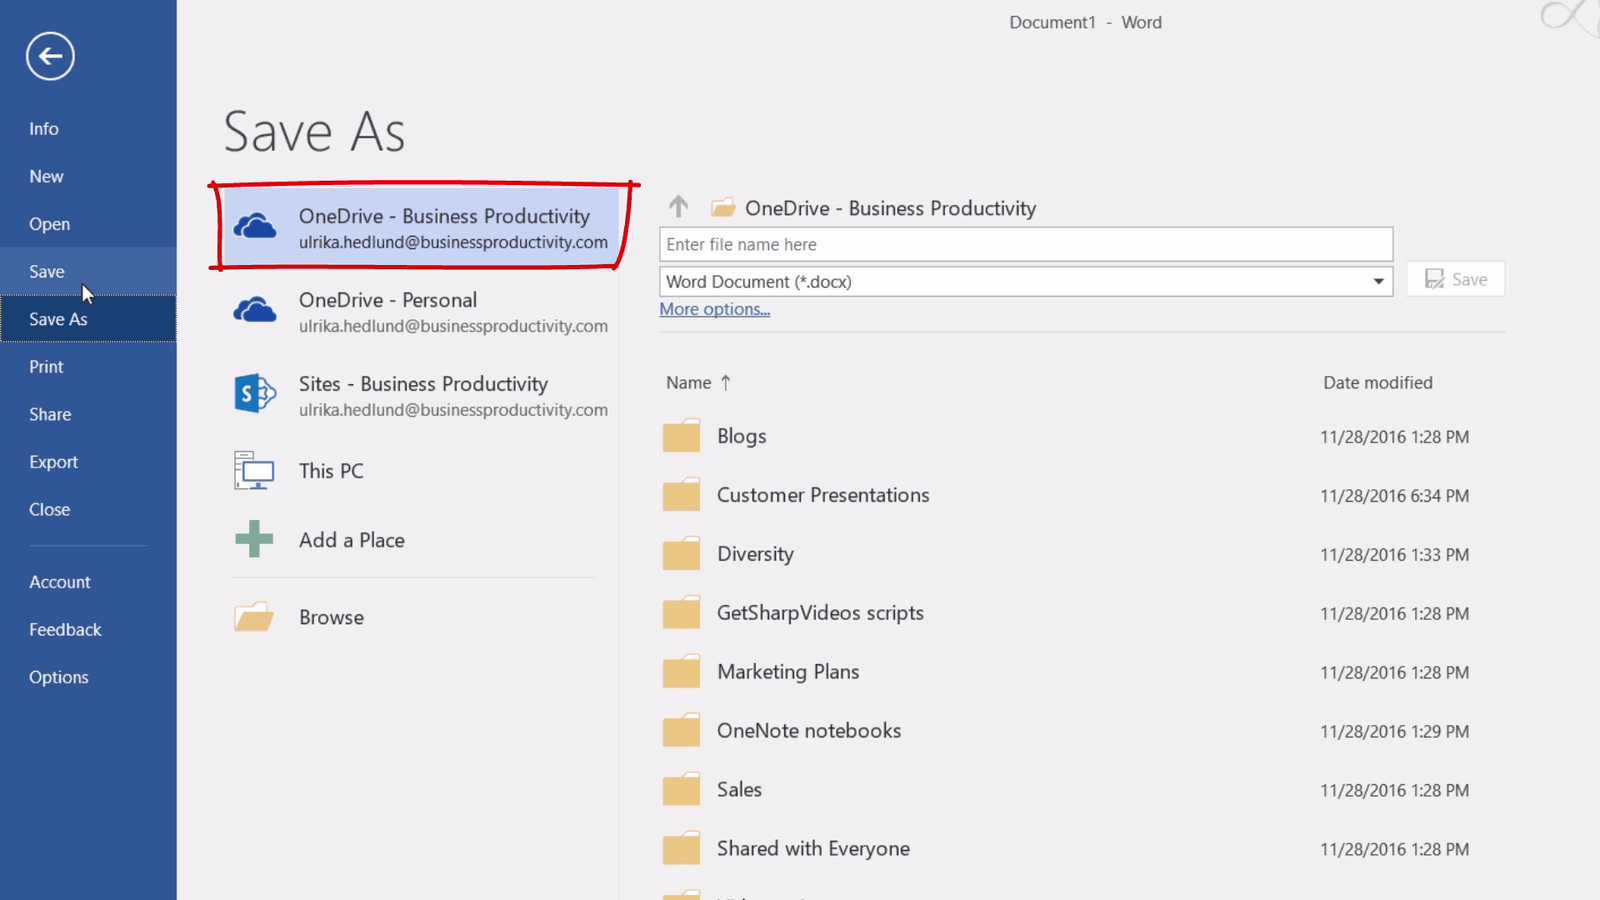
Select an existing folder, or if you want to create a new folder, click “More Options”. Here I’ll just select a folder called Diversity and save the document. The document is uploaded to the cloud.
Checking OneDrive for Business sync status
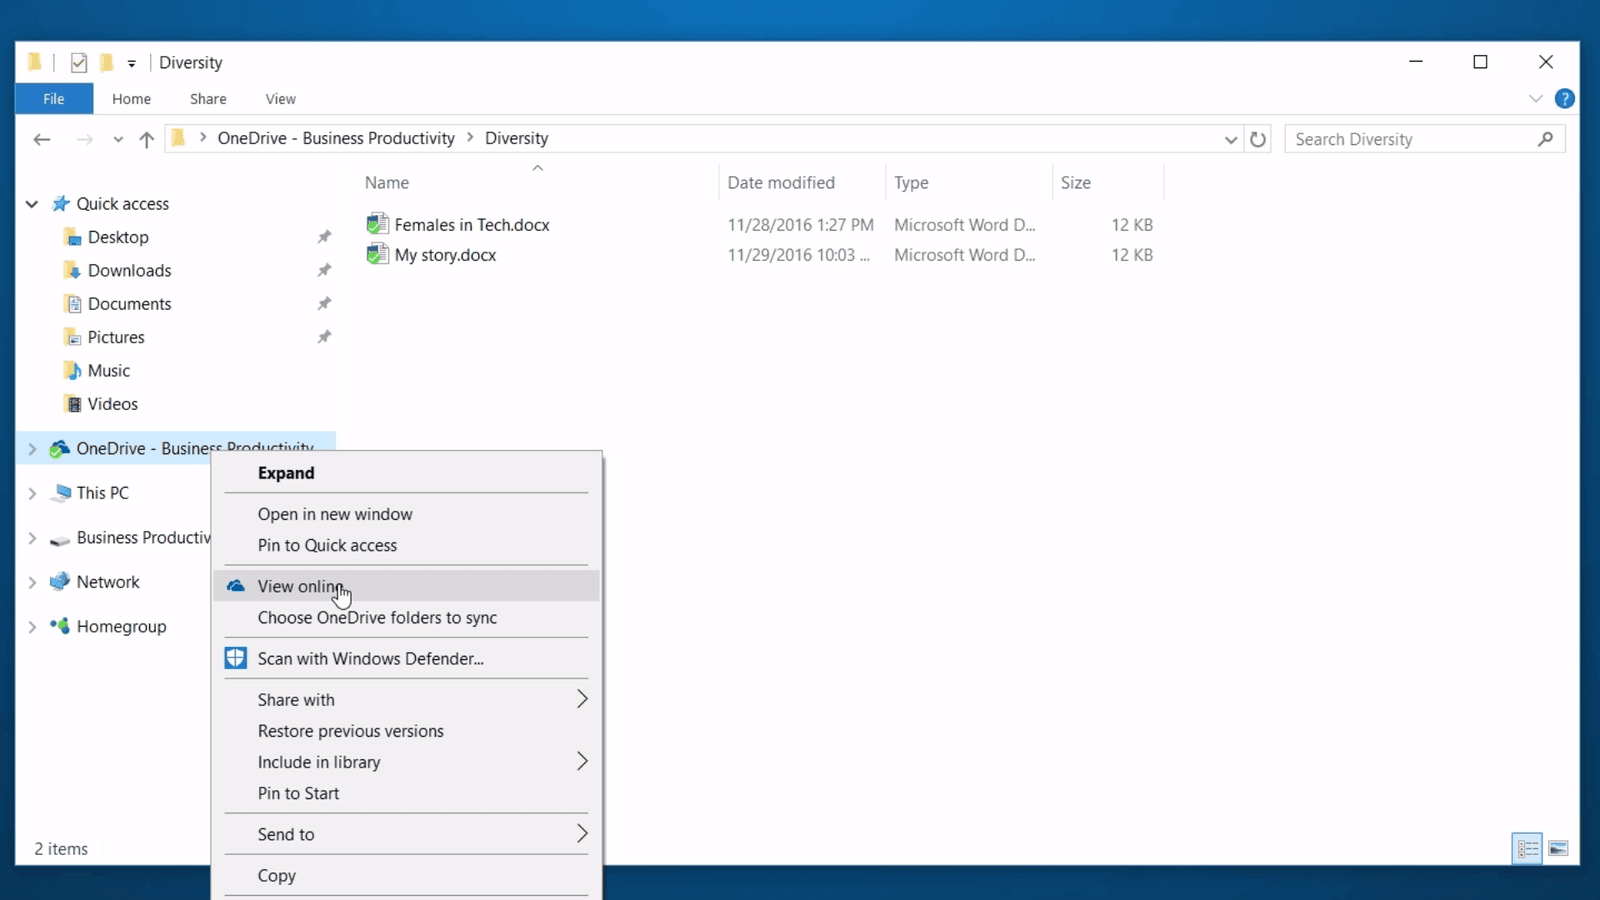
On this computer, I have OneDrive set up to keep a local copy of all my work files – as well as a synchronized copy in the cloud. In the File Explorer, you will see a green checkmark icon on folders and files that are up to date. Here I can see that the presentation I was working on has been synchronized as well as the document I created for my blog article. At any time, you can open OneDrive for Business in the browser to see the files online. Right-click your OneDrive for Business folder and click “View Online”.
If required, login to your Office 365 account. Here you can see all the files that are available in your OneDrive for Business account.
You can access the OneDrive settings on your computer by right-clicking the OneDrive icon in the system tray.
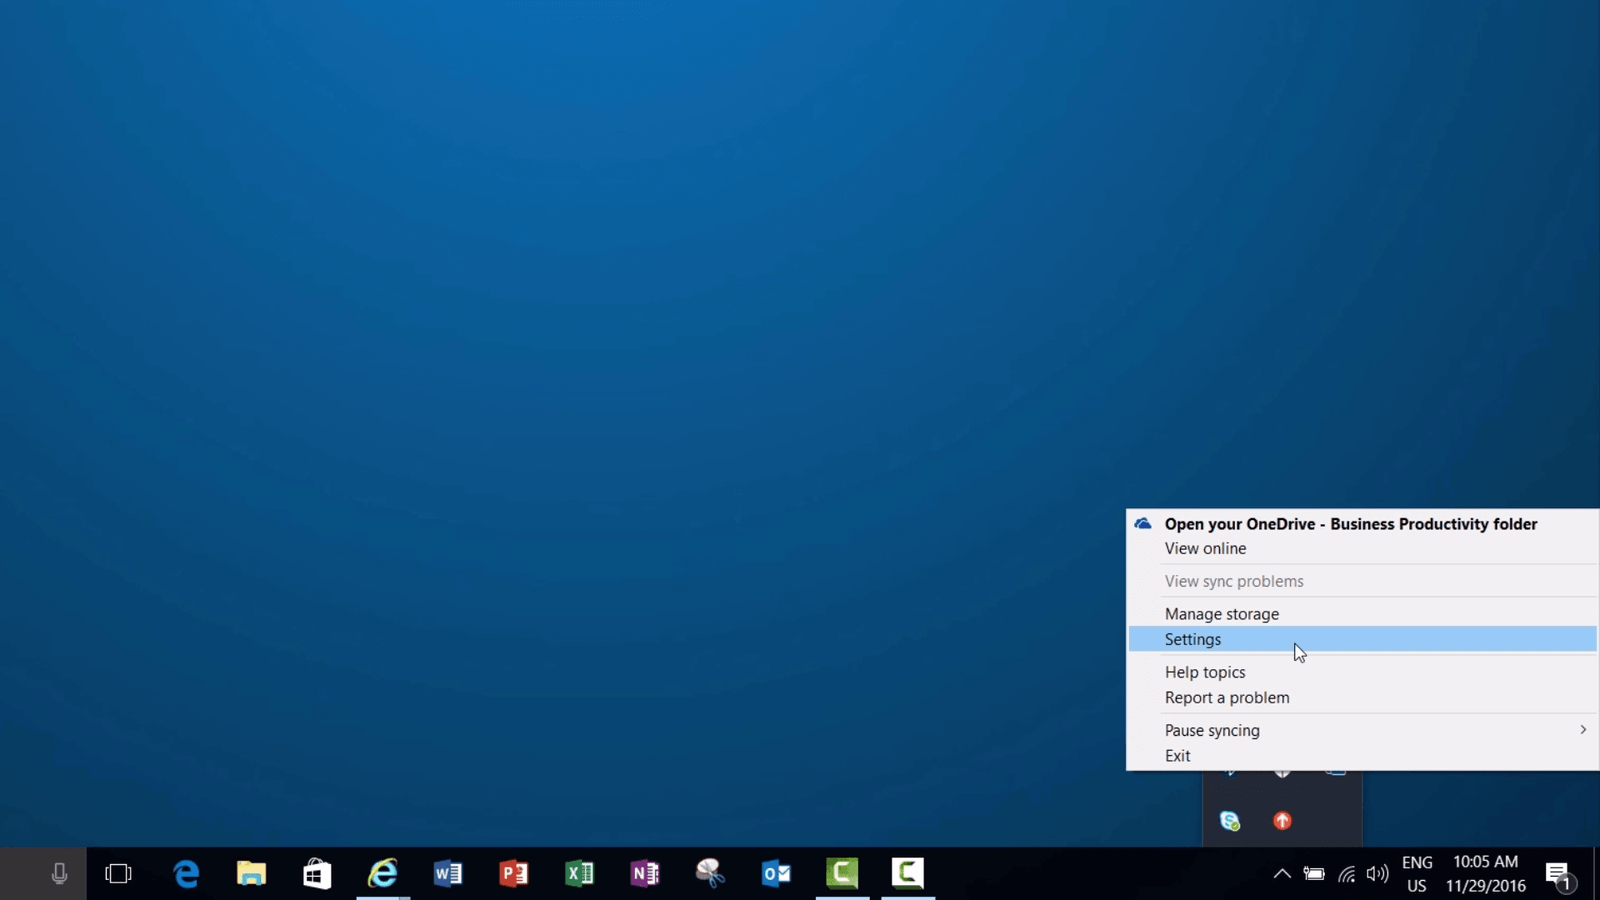
Here you can see how much storage is being used, and which folders you are synchronizing to your local hard drive. Content that all files are synchronized, I leave my laptop and pack my iPad and head off to the meeting.
Accessing personal files using the mobile OneDrive app
When I’m in the taxi, I get a phone call from our son’s nursery. They need an updated copy of his vaccination records.
You can access all your OneDrive documents from the OneDrive mobile app on your phone. In addition to accessing your work documents that you have on OneDrive for Business, you can also access personal documents that you have on your personal OneDrive account.
Since I have digital copies of all our children’s vaccination records on my personal OneDrive account I can send a copy right away.
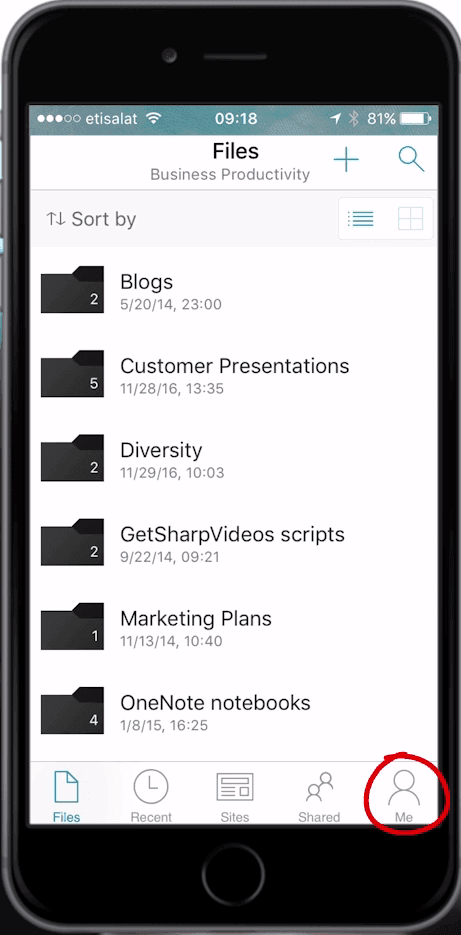
To add an additional account to your mobile OneDrive app, open the app, in the bottom right corner click “Me” and then the plus sign to add an account.
Enter the details of the account you want to add to the app. Now you can easily switch between your personal documents and your work documents.
To switch account, in the bottom right corner click “Me”, select the account you want to access and then click “Files”. Browse or search for the document you need to find, here I’ll do a search for “Vaccination records”. I’ll click the file and then select to share it. Since this is a small document that won’t be updated, I will go ahead and send it as an attachment. The file is downloaded to my device. I’ll open Outlook on my mobile and send off the file to the nursery.
Editing files in Office Mobile
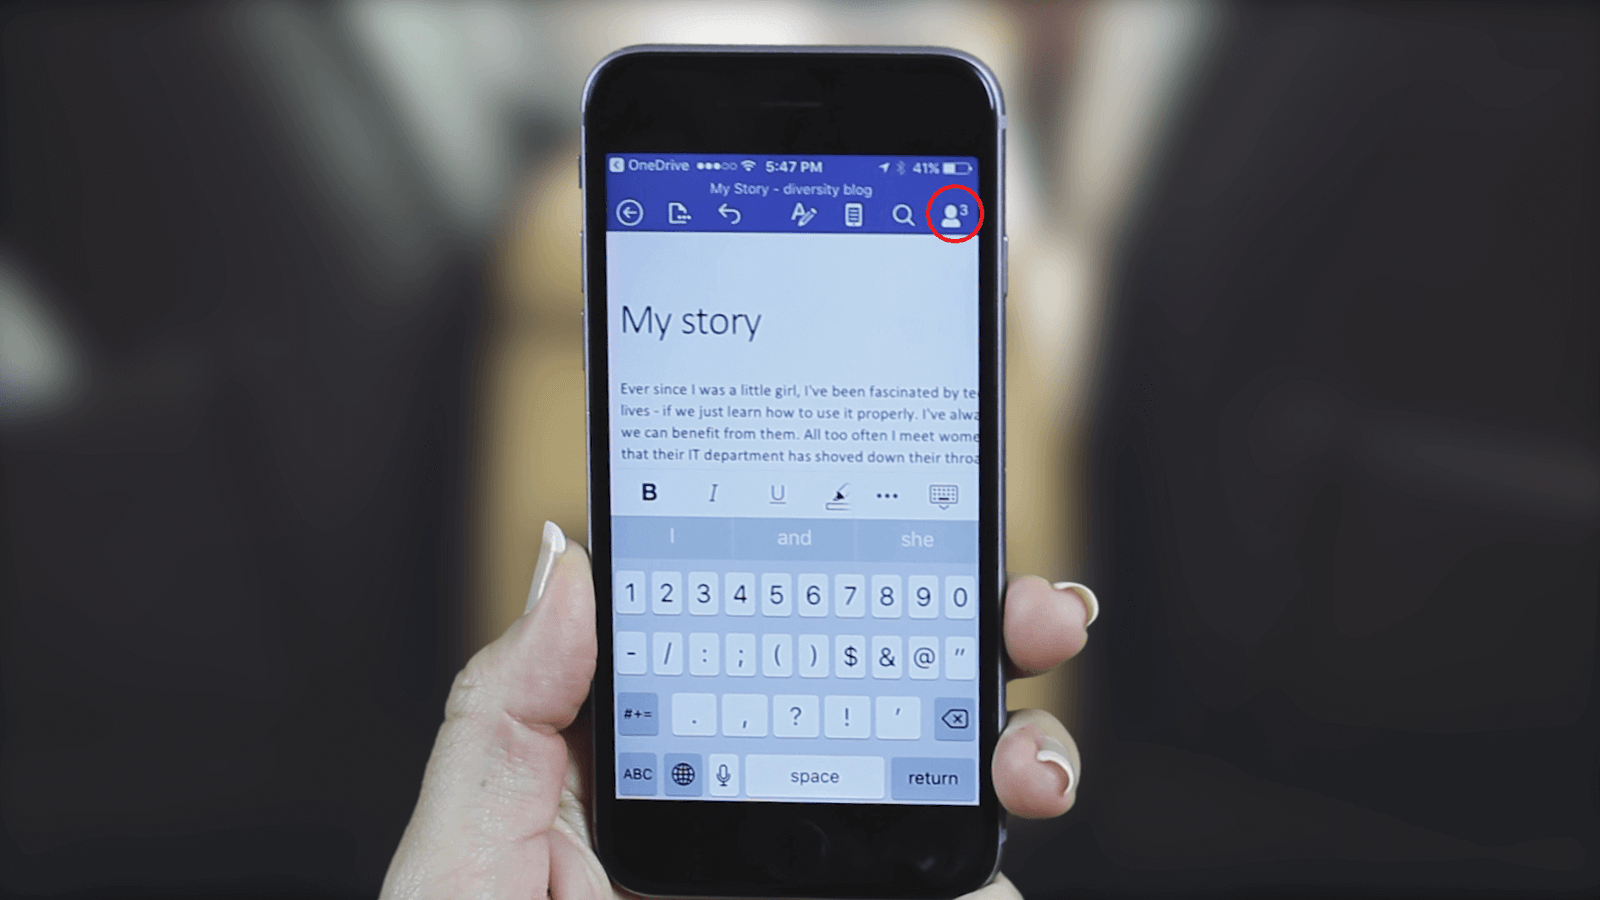
Since I still have a few more minutes before I reach my meeting, I’ll continue to work on the article I started on before I left. Not only can you view Office documents on your mobile, with your Office 365 subscription, but you can also edit them as well using the Office mobile apps. I open the Word app on my mobile. The most recent changes I made to the document on my laptop have been synchronized to OneDrive for Business and are now accessible on my phone. I make some changes and then I share the article with Kristina so that she can provide her input. To share a document, click “Share”, “Invite people”, and then enter the people you want to share the document with and then click “Send”.
Accessing recent documents from the Office Apps
When I get to the meeting room, I start my iPad and connect to the local Wifi. I open the PowerPoint app and make sure that I’m logged in with my business account. The Office apps keep track of the documents you work on so that you can easily access them from anywhere you log in to Office.
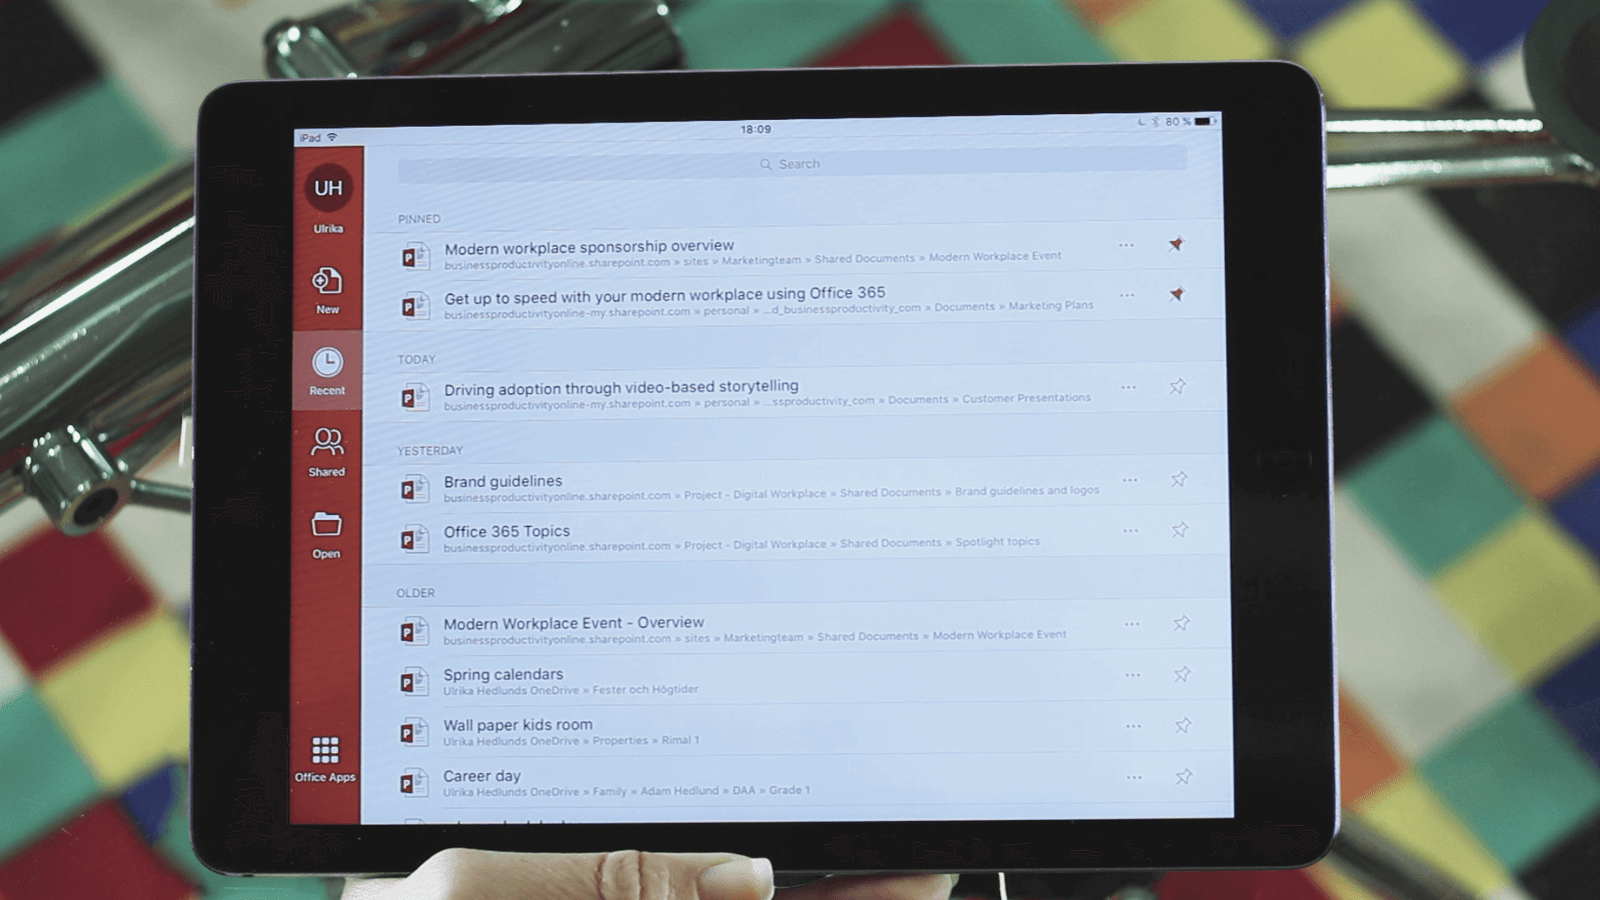
When I click to open the presentation from earlier today, it is downloaded from my OneDrive for Business account to my iPad. I use my iPad to present it to the customer.
Uploading files to OneDrive
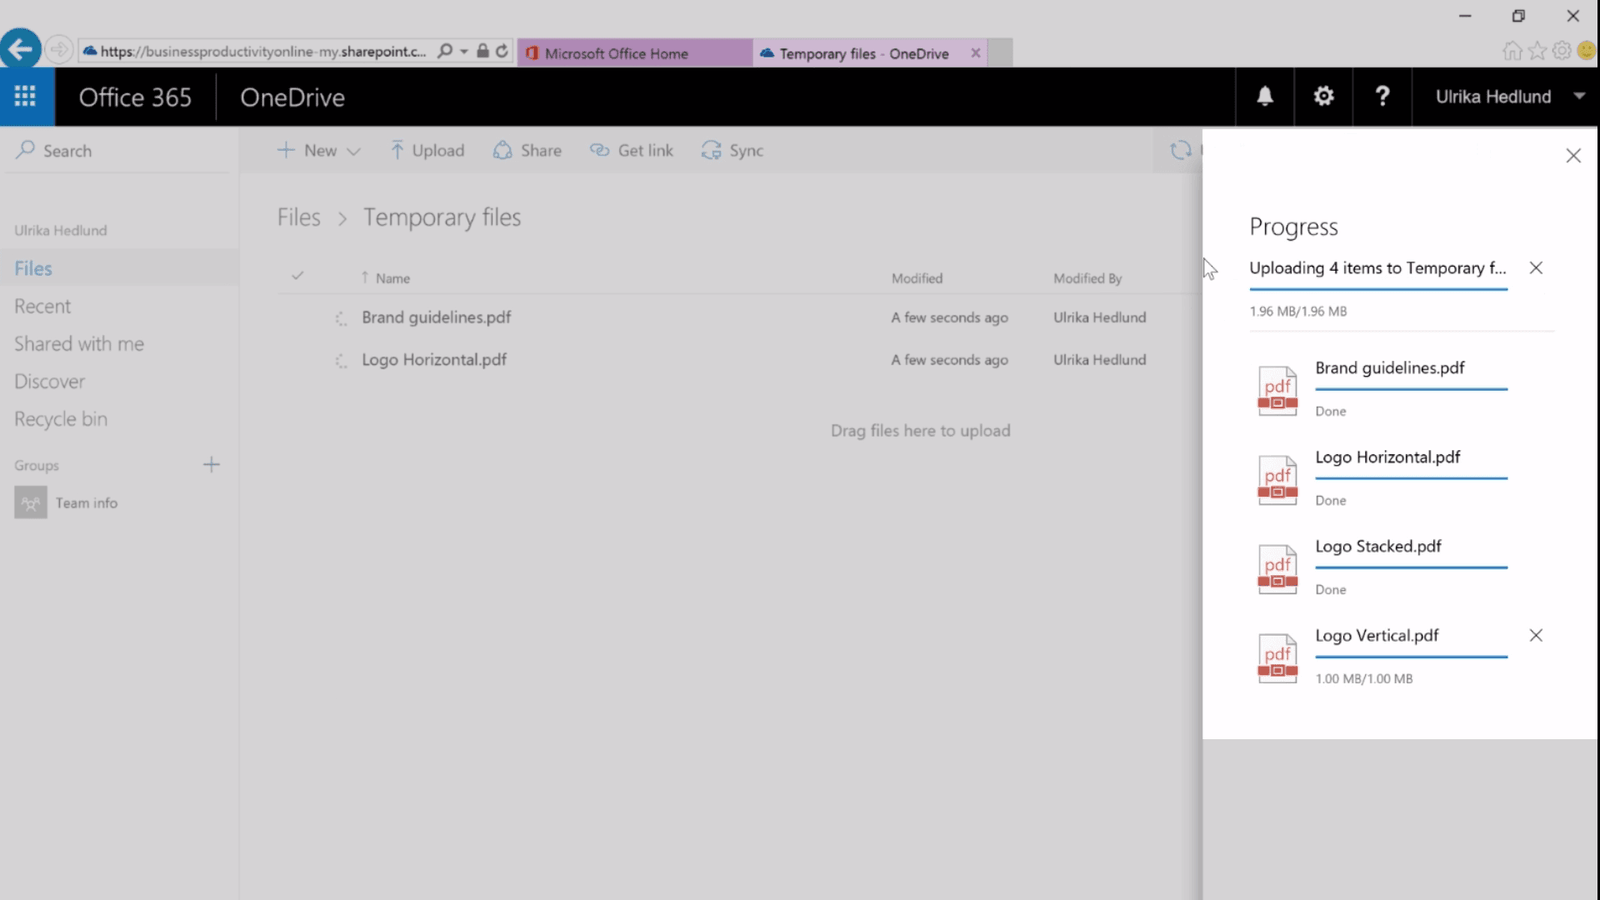
The presentation went well, the customer wants to go ahead with the project. He lends me a USB stick with some files we’ll need to get started. Since I don’t have a USB port on my iPad, I ask to use the meeting room computer to upload the files to my Office 365 account. Since we don’t have a SharePoint team site for the project yet, I’ll upload the files to OneDrive for now. To upload files to OneDrive for Business, log in to Office 365 and open OneDrive in the browser. If needed, create a new folder by clicking “New” – “Folder” from the top navigation, or right-click anywhere on the page and select “New”, “Folder”. I’ll create a new folder called “Temporary files.” To upload documents, click “Upload” and select the documents you want to save to OneDrive, alternatively, drag and drop the files to the browser window. You will see that the files are being uploaded, to see the progress, click the “Upload” progress message to see the status of each individual file.
Sharing documents with external business partners
The meeting attendees ask for a copy of my presentation. I can share it with them right there and then. I click the “Recent” files in OneDrive for Business. Here I can see all the documents I’ve recently worked on, I mark the presentation to share it.
You have the option to either “Share” the document with specific individuals that you invite, or, you can get a sharing link that can be forwarded to anyone. In this case, there is no sensitive information in the presentation and I want the meeting attendees to share it with others, so I’ll click “Copy Link”.
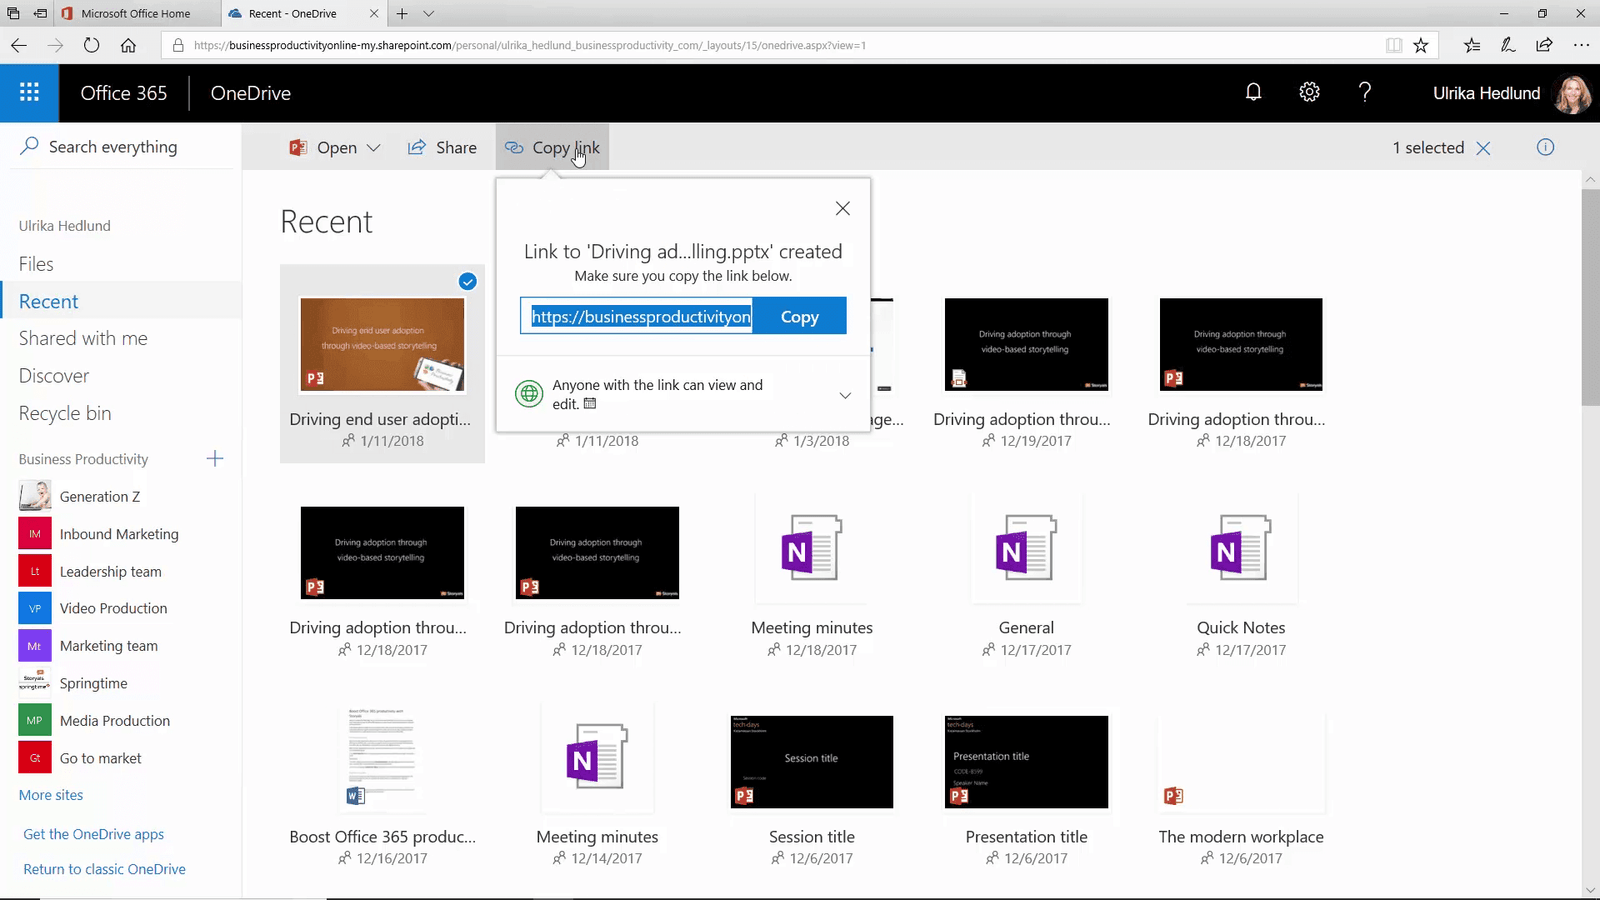
Here I can see that anyone with a link can view and edit the presentation since I only want them to view the presentation I’ll click the permission drop-down to change it.
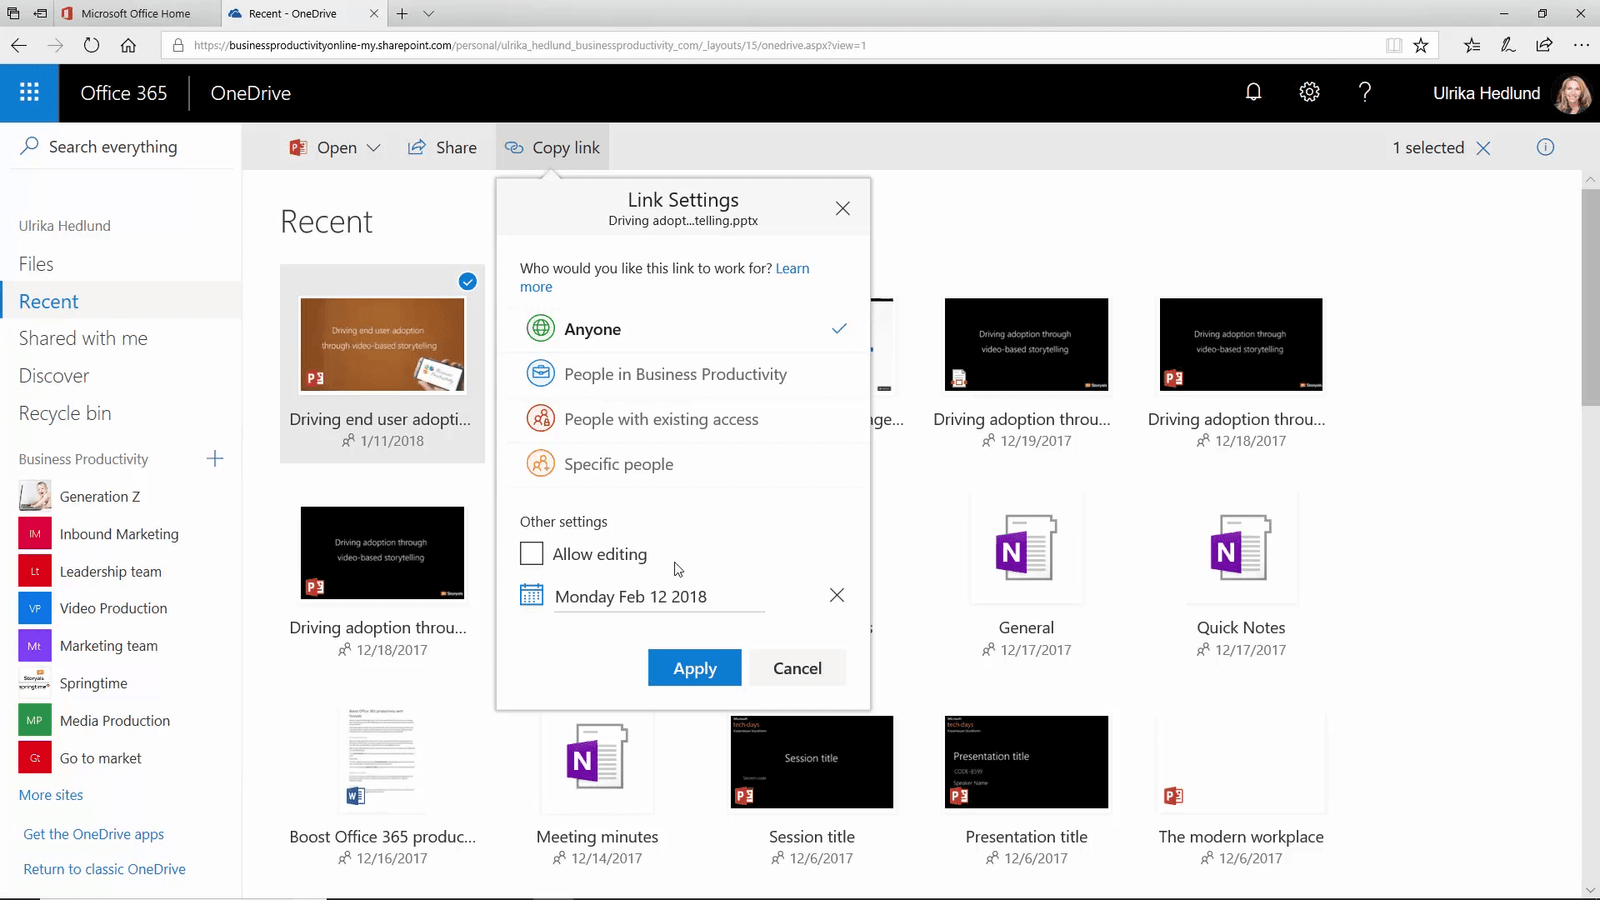
I’ll deselect the option to “Allow editing” and then I will set an expiration date. I don’t want them to have access for more than a month since the content might be outdated then. I’ll click “Apply” and then copy the link.
I click the launch button and go to my calendar since I have all the meeting attendees’ email addresses in the meeting invitation. I open the meeting invitation and select “Reply All”. I thank the meeting attendees for their time and add the sharing link by clicking the hyperlink button at the bottom of the message window and pasting in the link. When I’m done, I send off the email.
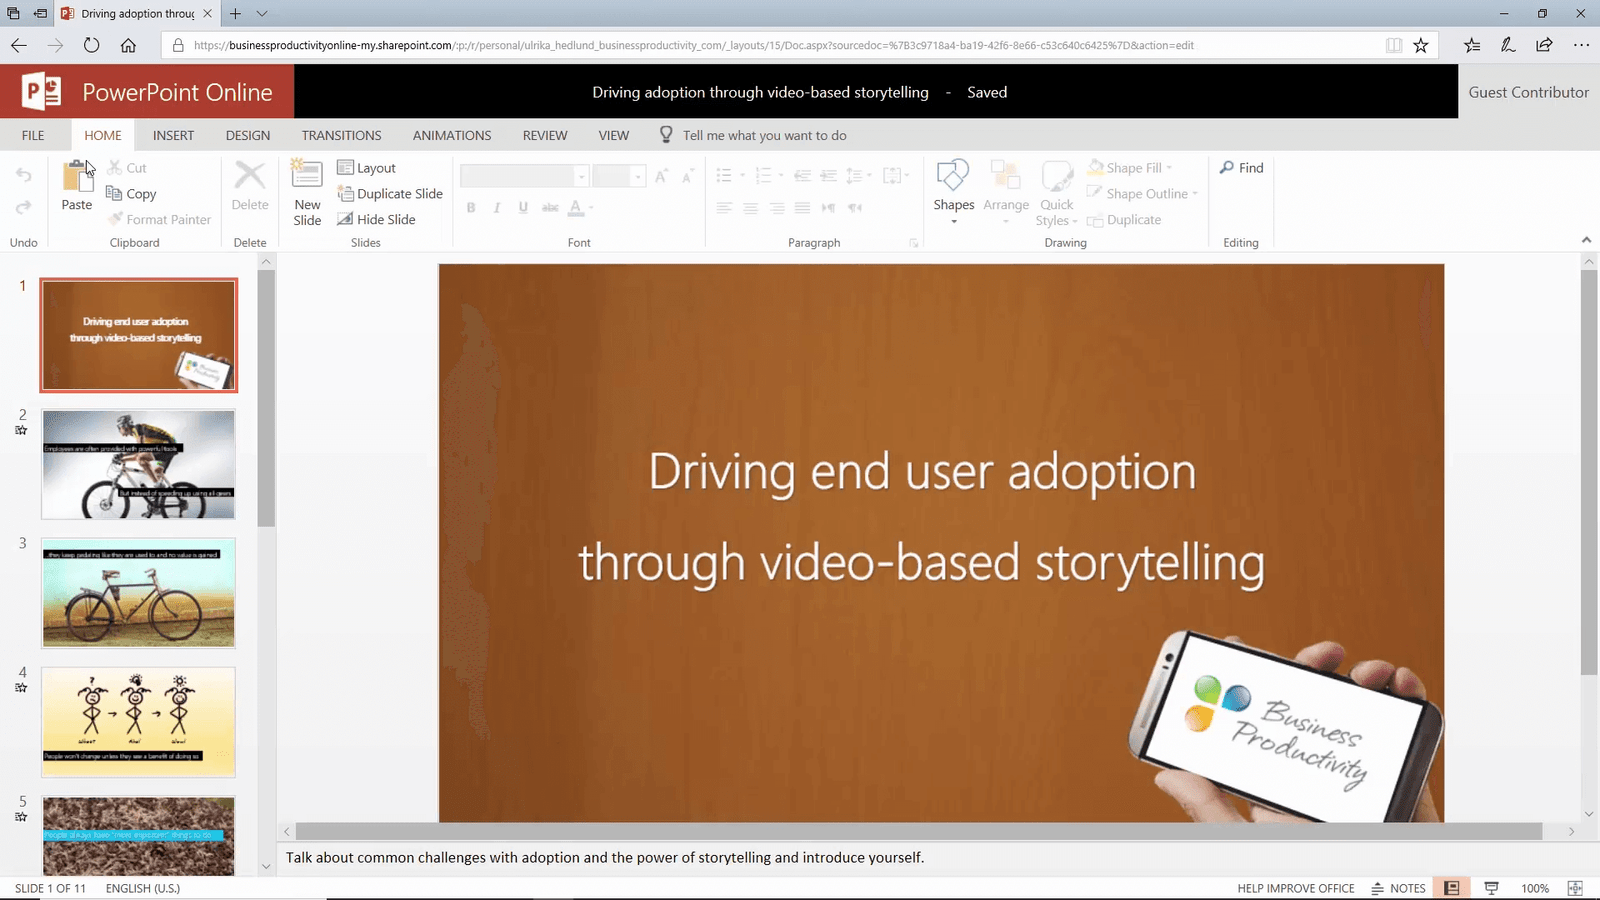
When the meeting attendees click on the link, they will be able to see the presentation in PowerPoint Online.
Content that the customer is satisfied, I give back the USB stick and head back to the office. I send a message to the team that we have another project to work on.
Copying files from OneDrive for Business to SharePoint
When I get back to the office, I get a message from my colleague Carlito that he has created a SharePoint site called “Project – Digital Workplace” where he has uploaded some project documents. I reply, that I will copy my files from the meeting there as well. To copy files from OneDrive for Business, select the files you want to copy and click “Copy to”, select the SharePoint site and the folder, or create a new one. Here I’ll create a new folder called “Brand guidelines and logos” and then I’ll click “Copy”.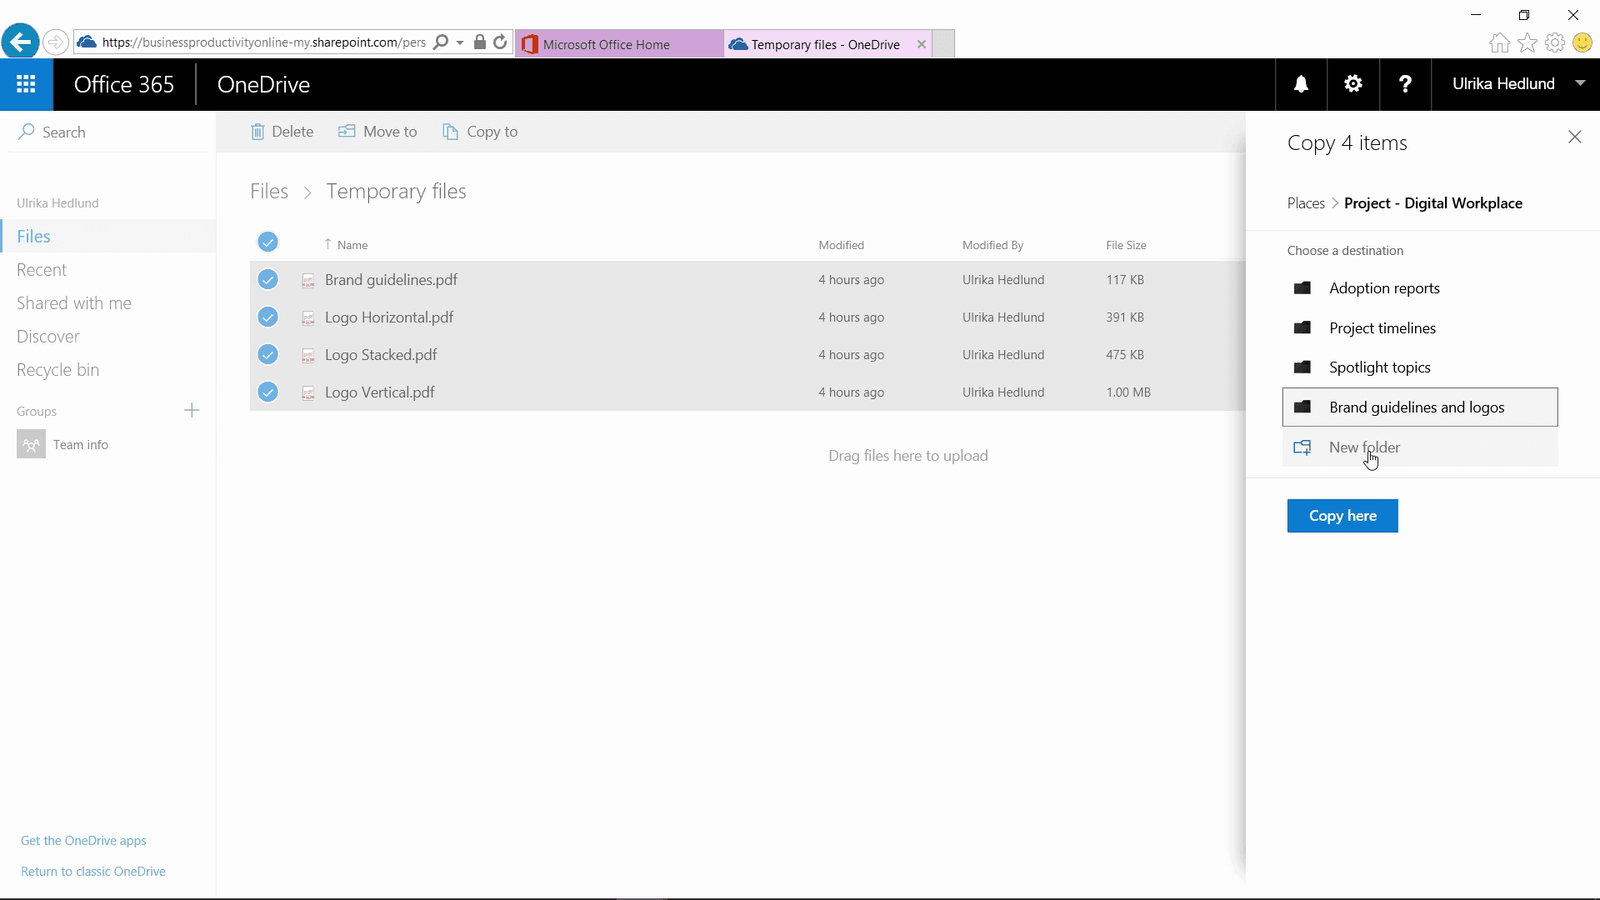
There, I’m almost done for the day, I just need to do a final review of the article.
Co-authoring documents
I open the document in Word and can see that Kristina is editing the document as well. In Office 365, multiple people can edit documents at the same time from the Office apps or from a browser using Office online.
I open Skype for Business to ask if she is ok with the article. She replies that it’s great and that she only made a minor change. I click “Save” to refresh the document. Her changes are highlighted in green. Wonderful! Thanks to Office 365, it’s been a productive day!